January 19, 2023
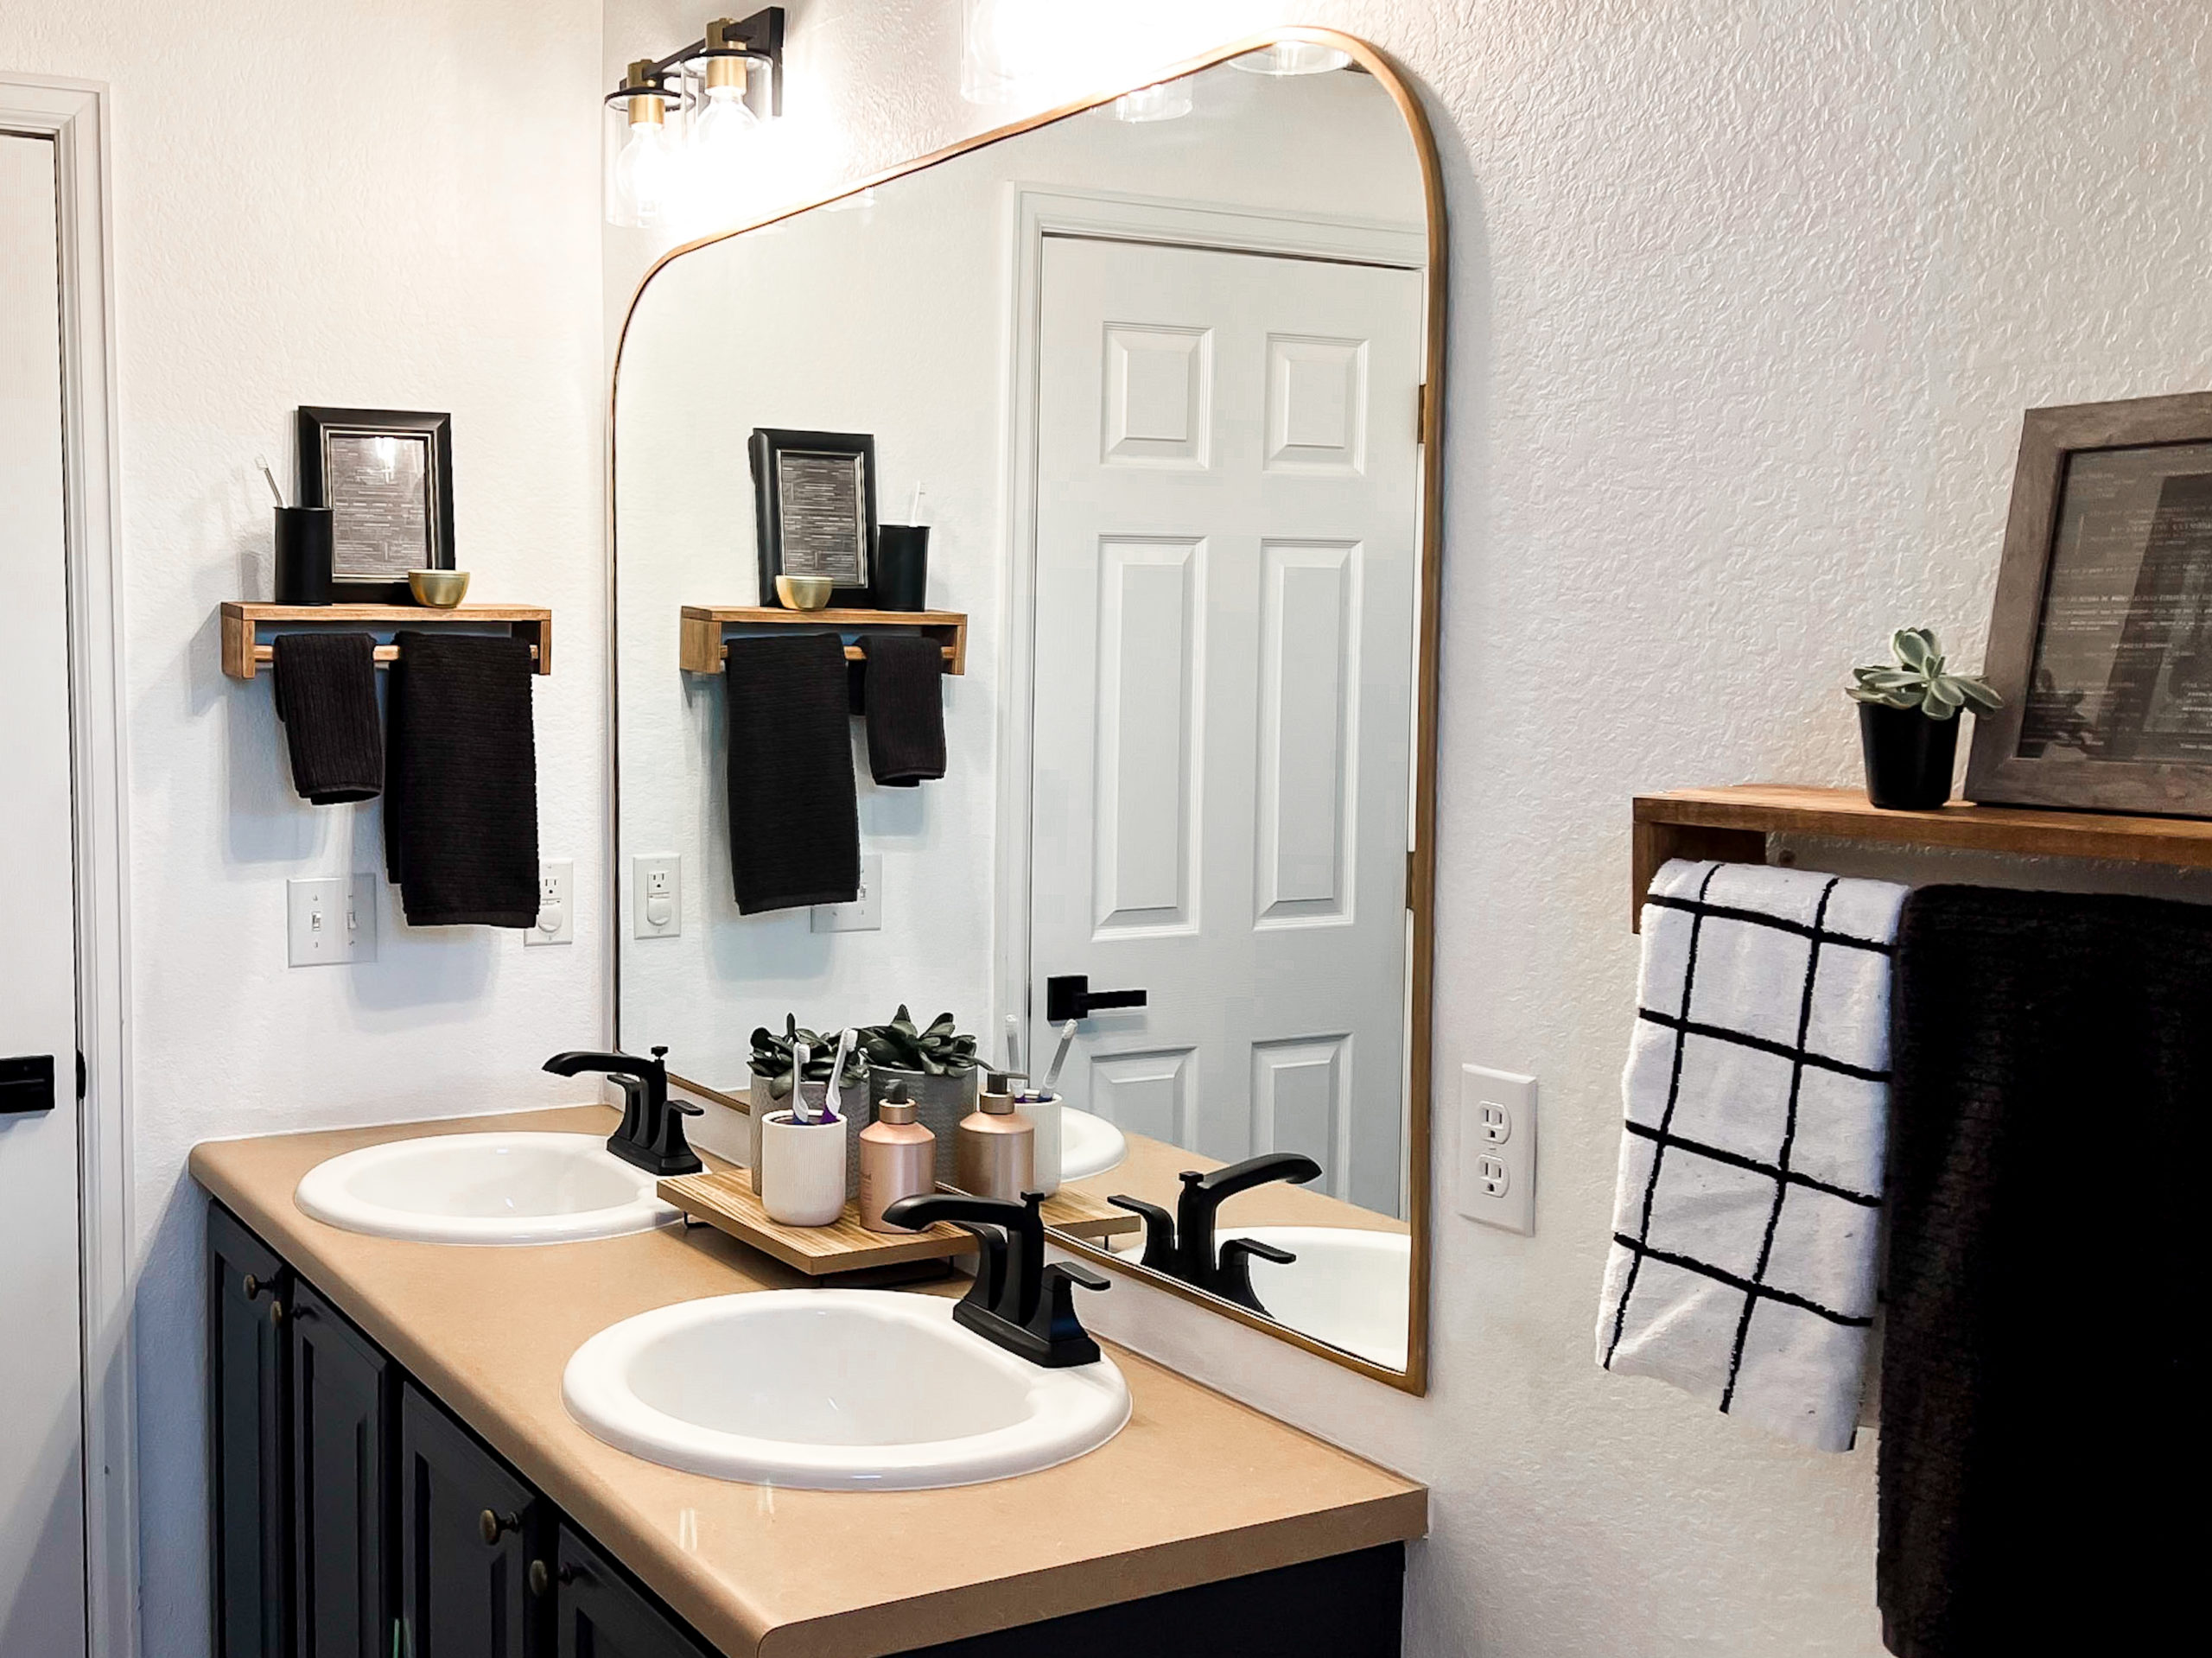
I knew I wanted an arched gold mirror in the kids bathroom from the moment I created my mood board. But I couldn’t find one that was going to be large enough to fill the entire wall, not to mention they were expensive!!
So we decided to DIY one ourselves after seeing an inspirational post from Sarah Flips It on Instagram.
This is the look we were going for…
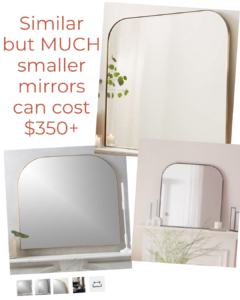
…but without the expensive price tag.
**This post contains affiliate links to products that I used or recommend. If you purchase something through an affiliate link, I may receive a small percentage of the sale at no extra cost to you. I really appreciate your support!**
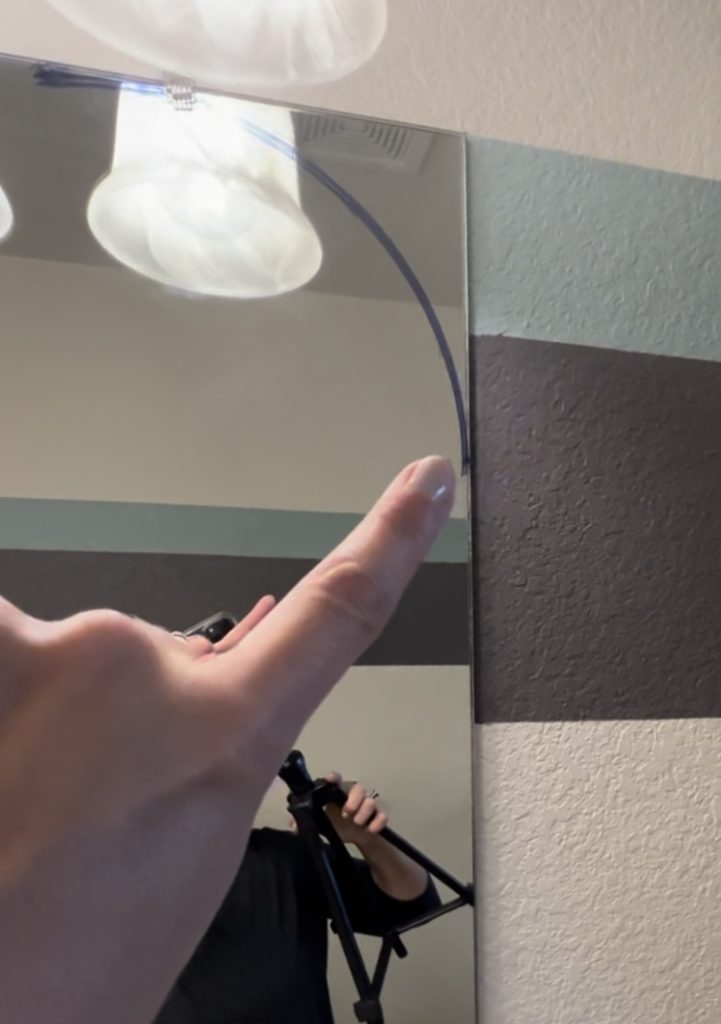
First, I traced out the arched shape I wanted on the top 2 corners using a sharpie marker and measured how much I wanted cut off of the bottom of the mirror as well. That cut was just one straight horizontal line.
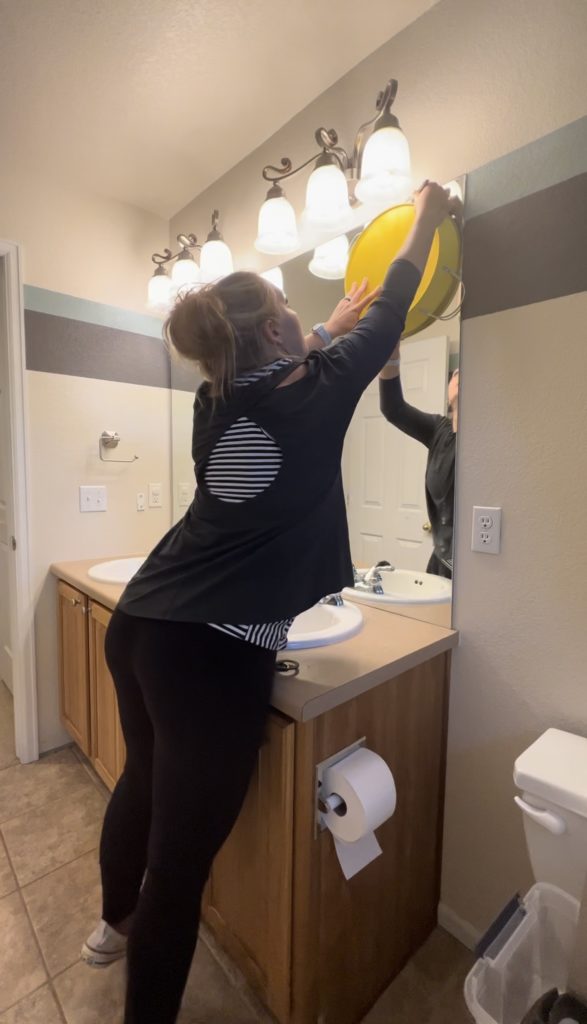
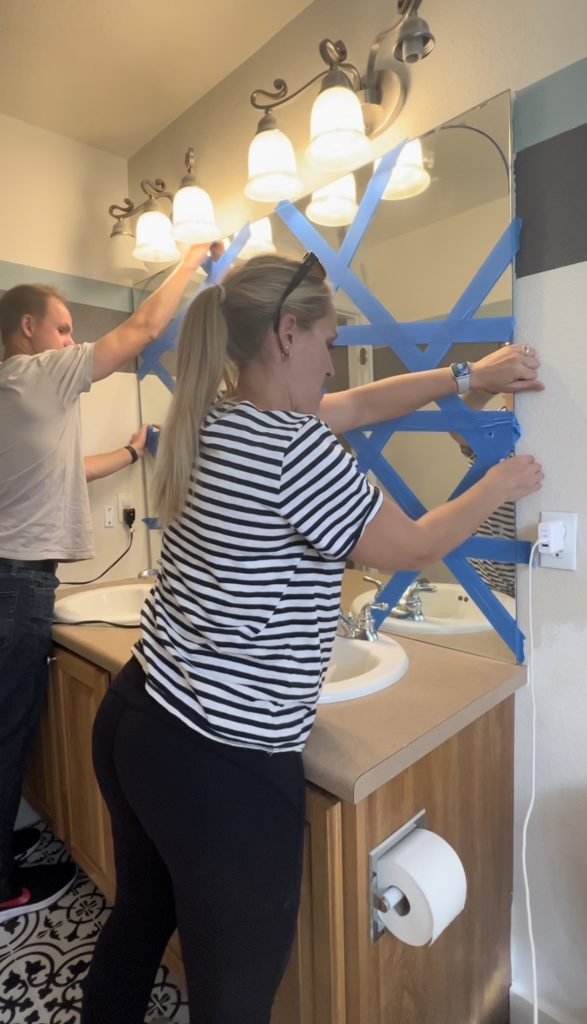
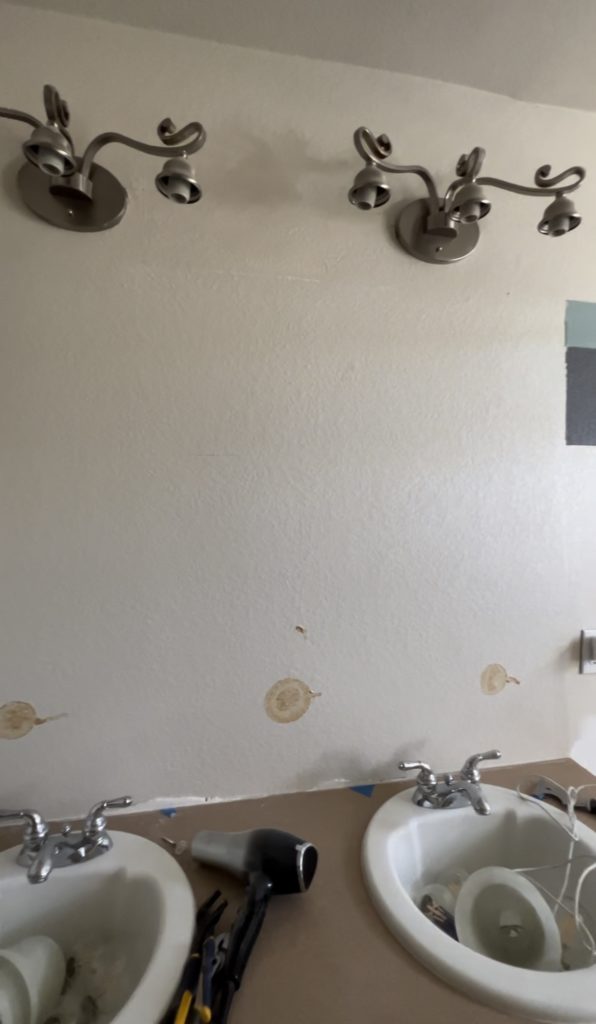
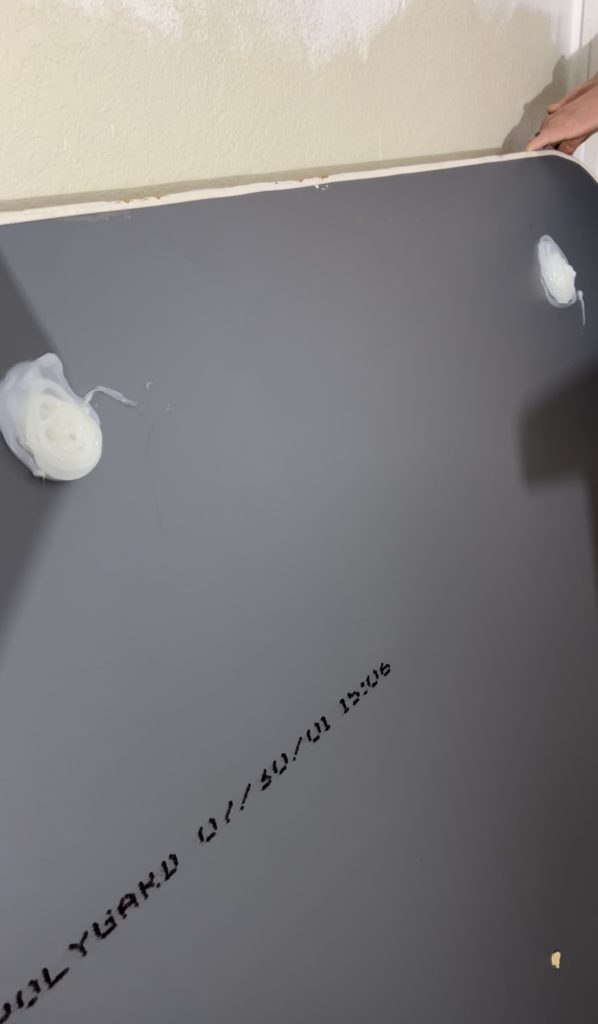
Then, we taped up the mirror to prevent it from shattering when we removed it from the wall. It had a few clips on it that we took off, scored the caulk along the bottom, then pried it off the wall. We actually just used our fingers and it popped right off. Turns out it was only held on with 3 little gobs of glue.
In the past, we’ve had to use a hair dryer (a heat gun would work too) to melt the glue before it released from the wall but this one popped right off with relative ease. This can cause some drywall damage so be prepared to repair any drywall damage left over from the mirror removal. We didn’t end up having to do any repair other than a light sanding, then prime and paint with the rest of the room.
This is *definitely* a 2-person job as these mirrors are heavier than you think!
We did have to remove all of the lightbulbs and glass from the light fixtures in order to have enough space to get the mirror past the faucets.
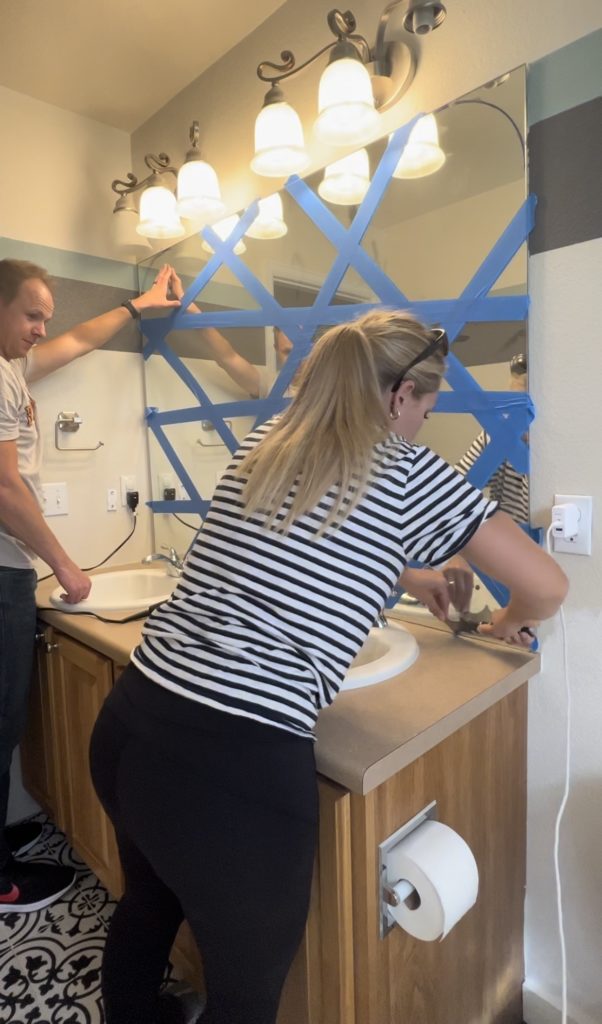
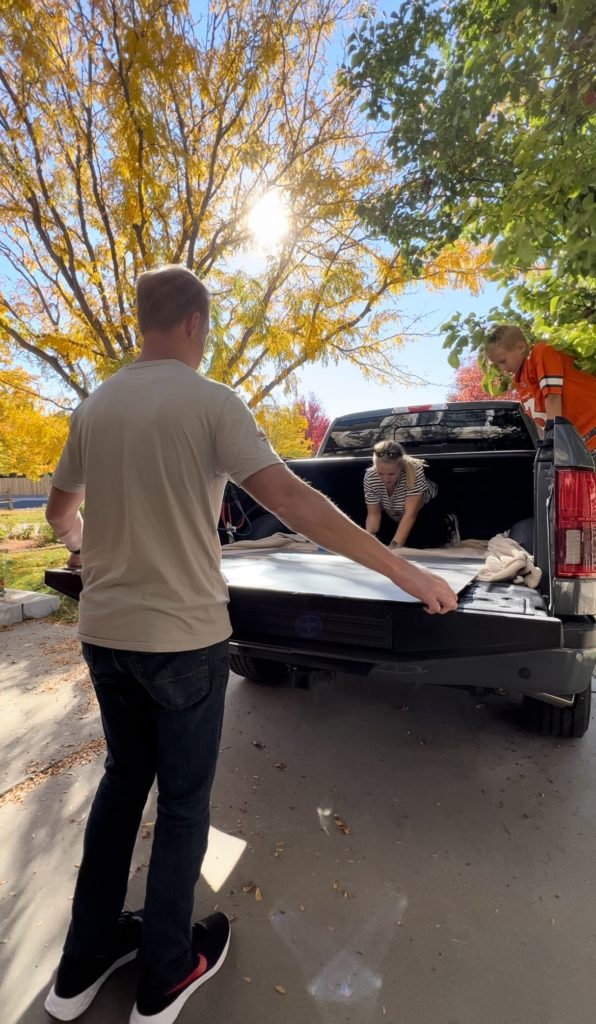
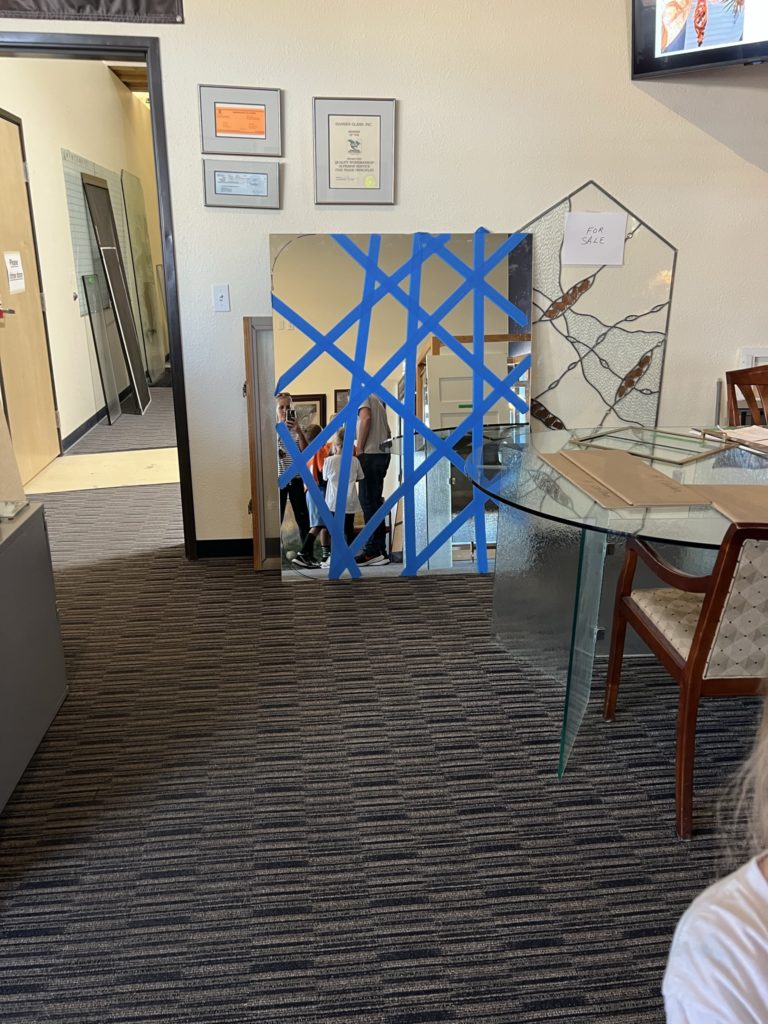
We (very carefully) loaded the mirror in to the back of our truck, nestled on top of several blankets and took it to a local glass shop where they were able to cut the arched shapes as well as 4″ off of the bottom for me. The total cost for cutting the glass was $60.
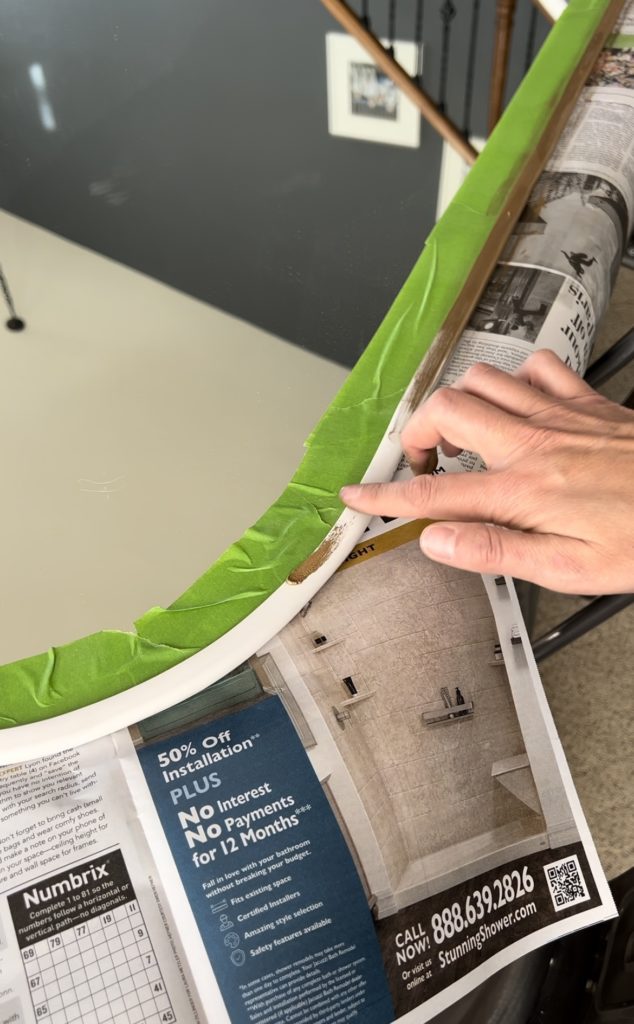
Once we got it back home, I attached this rubber U-trim that is normally used on car doors and it worked perfectly! It’s self-adhesive and flexible and fit right over the edge of the mirror.
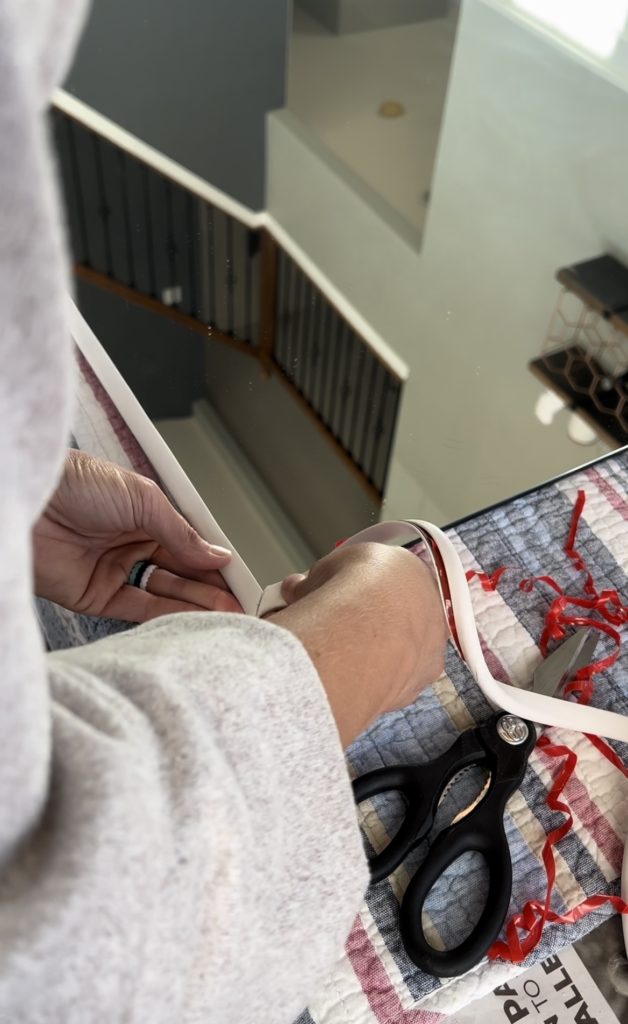
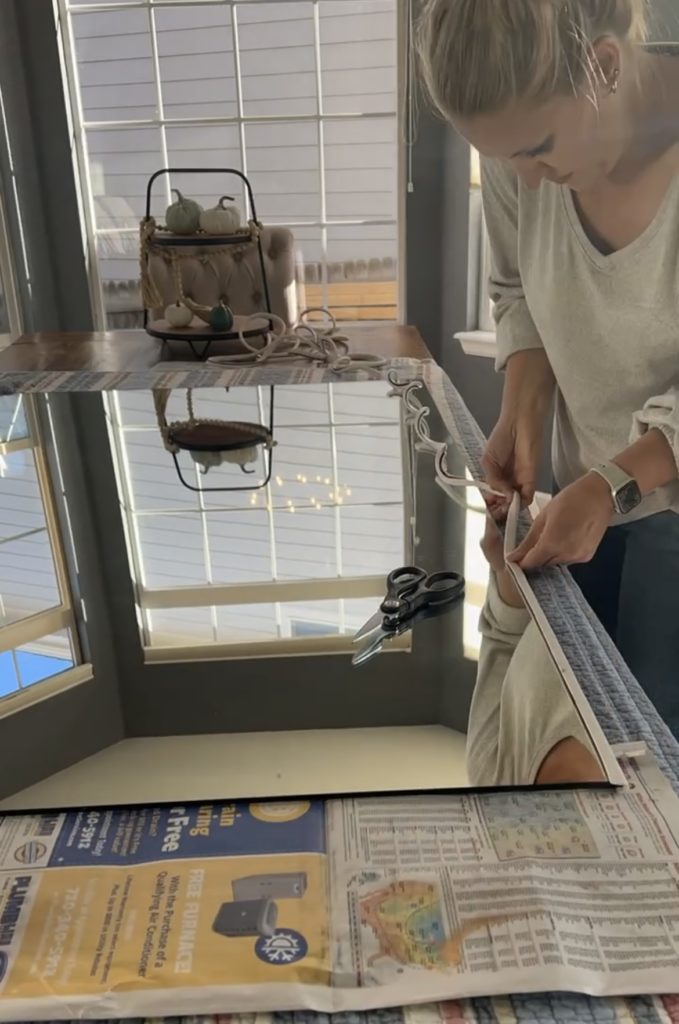
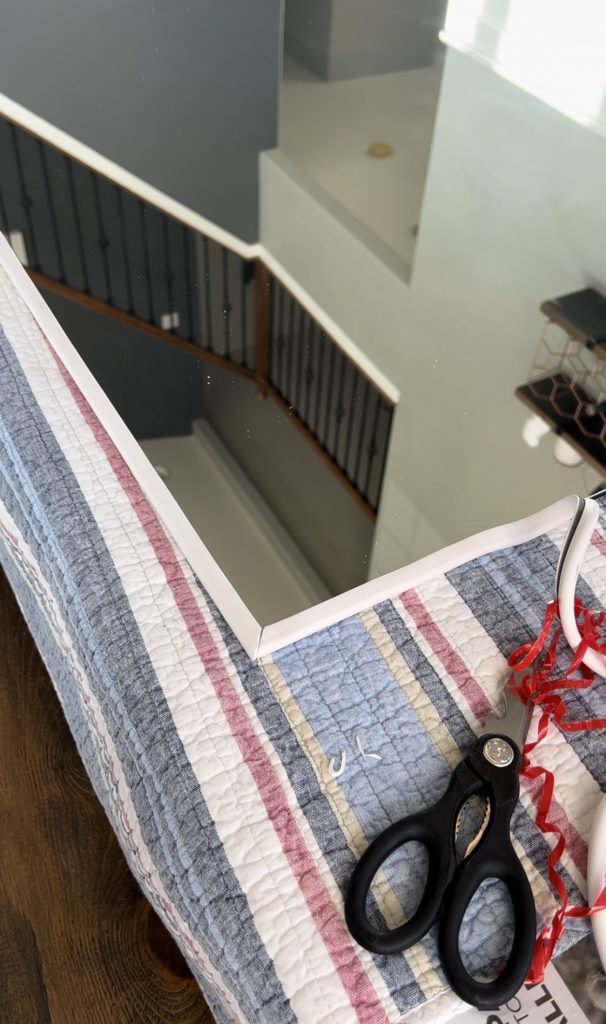
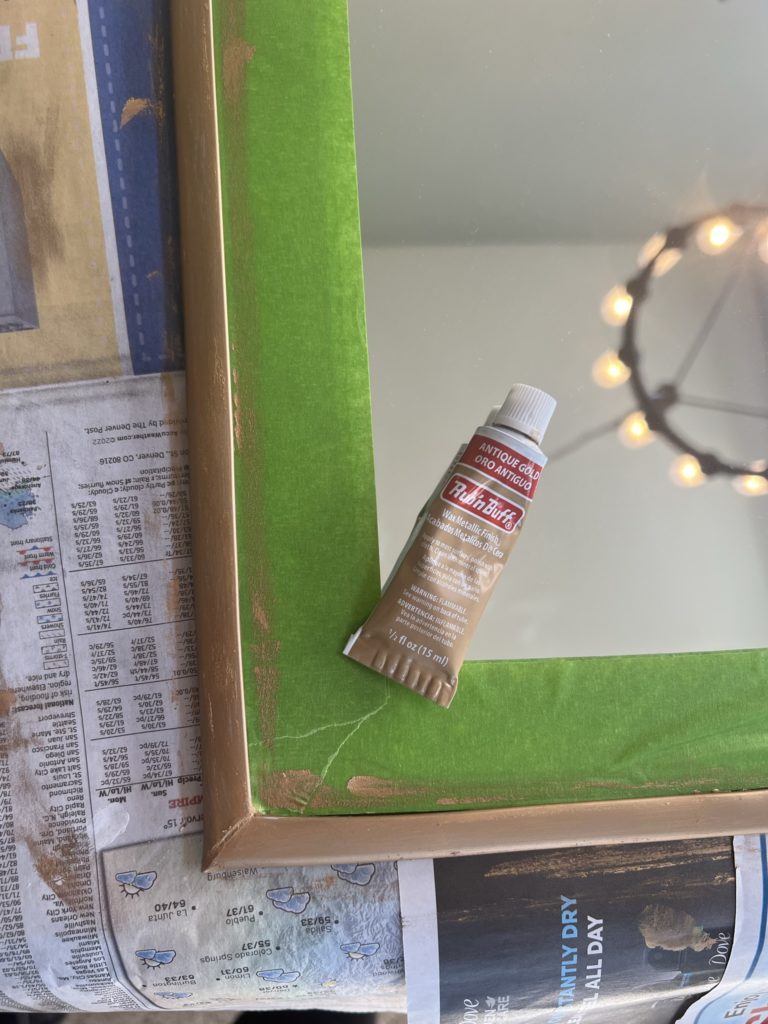
I caulked the bottom corners for a seamless look and applied Rub ‘N Buff in the color “Antique Gold” to the trim for a perfectly aged brassy look. I like to apply Rub ‘N Buff with my fingers but you can use a foam brush or a paper towel too. Once the Rub ‘N Buff is dry, you “buff” it out with a soft cloth to make it really shiny. It’s more like a wax or polish than a paint and has a ton of uses!
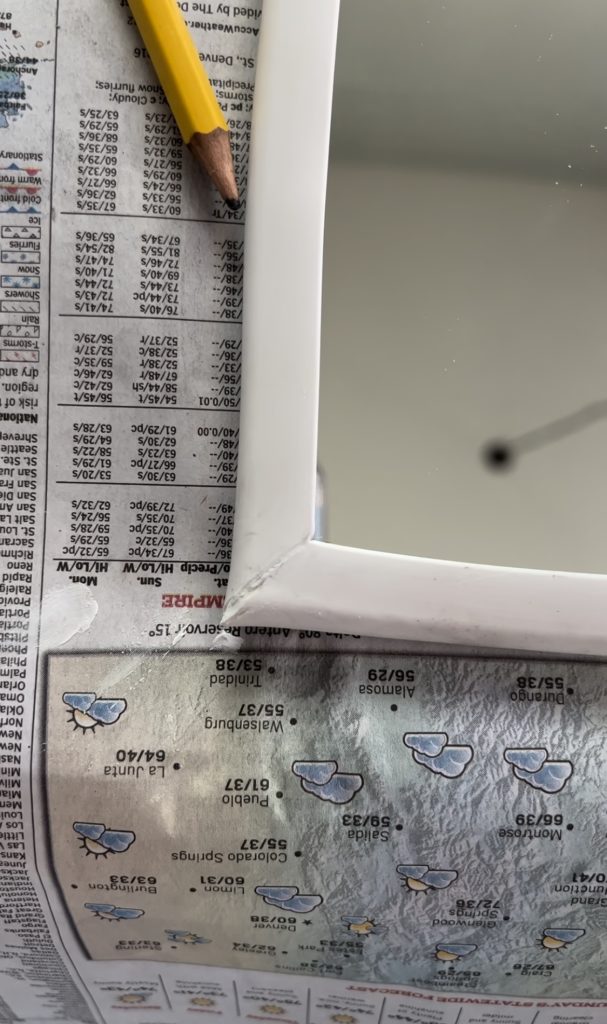
We hung the mirror back up on the wall using small piles of 100% silicone at the recommendation of the mirror guy at our shop. We propped the mirror up on a 2×4 cleat that was screwed in to the studs and braced another 2×4 against the opposite wall to hold the mirror up while the adhesive cured. We let it cure for a full 72 hours without any exposure to moisture or heat (no showers in here for a few days!) before we removed the braces.
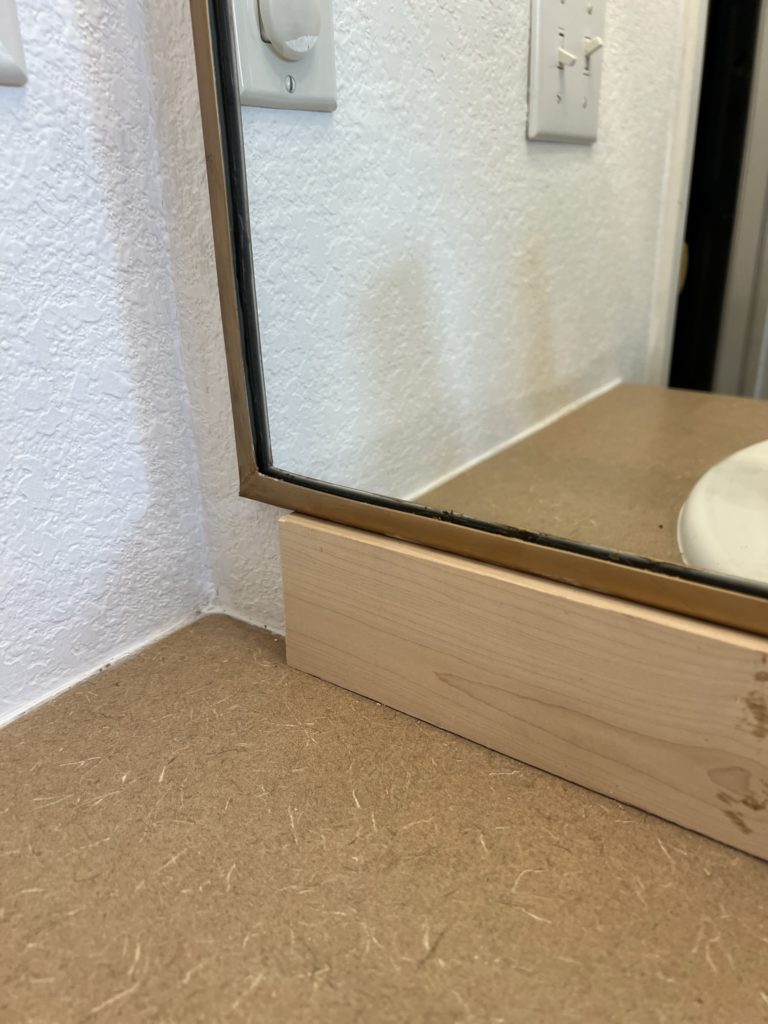
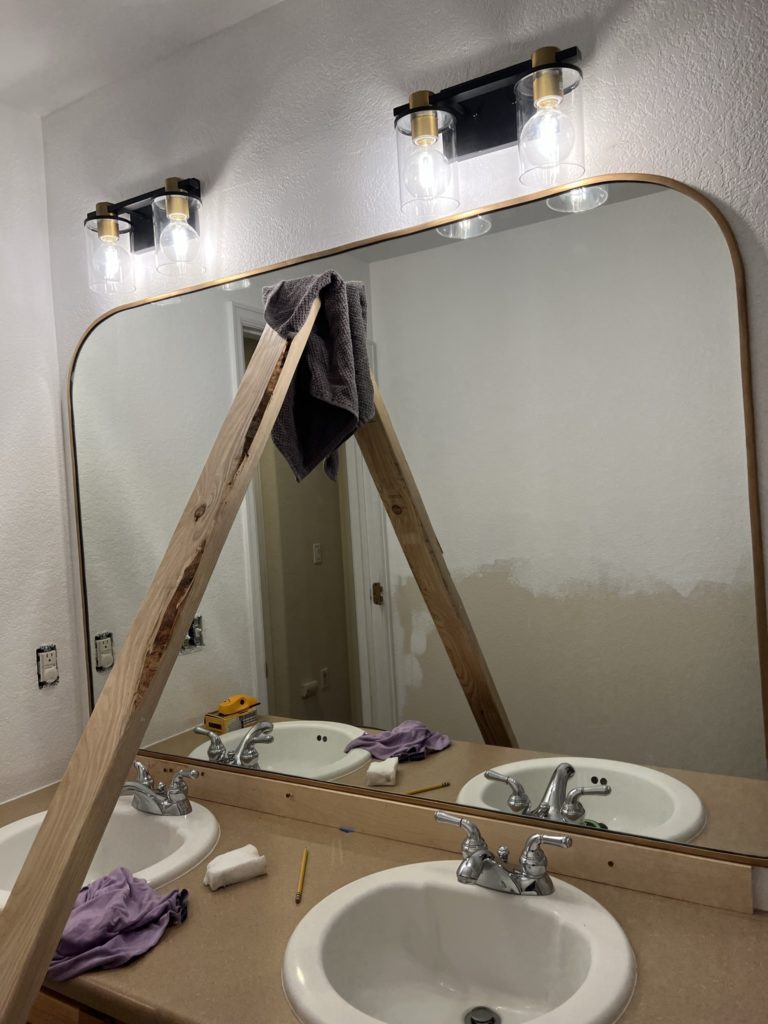
It turned out better than I could have imagined and I can’t believe it cost me less than $100! My only costs were having the mirror cut, the rubber U-trim and the Rub ‘N Buff (which I actually already had on hand – a little goes a long way and a tube will last you forever).
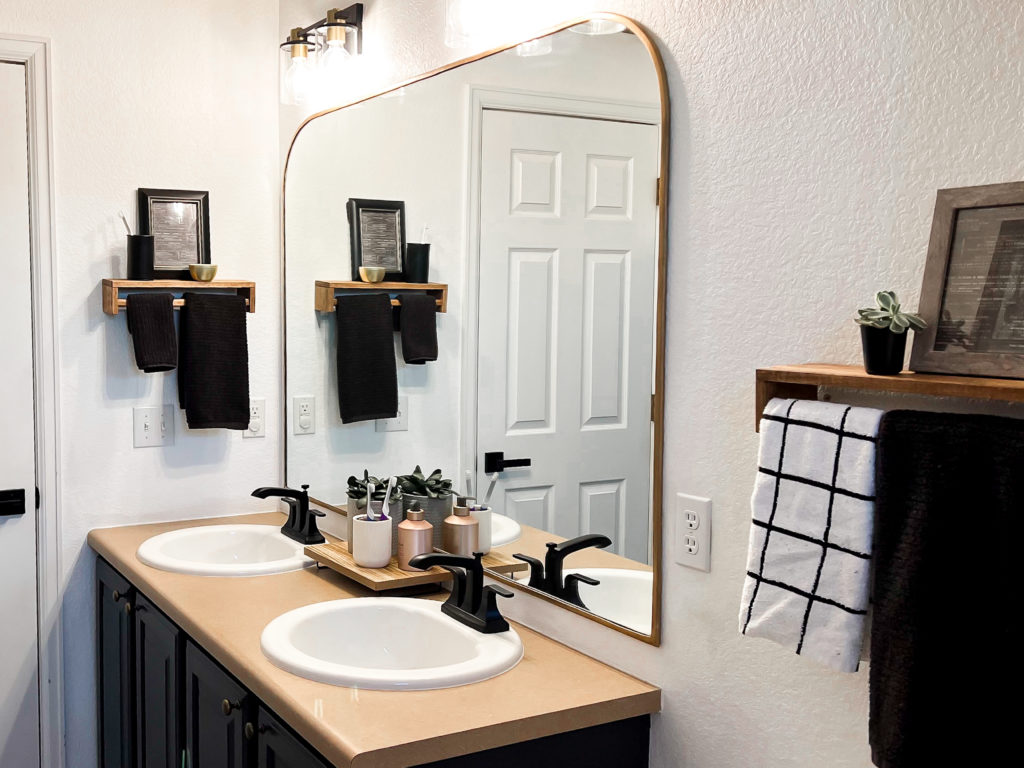
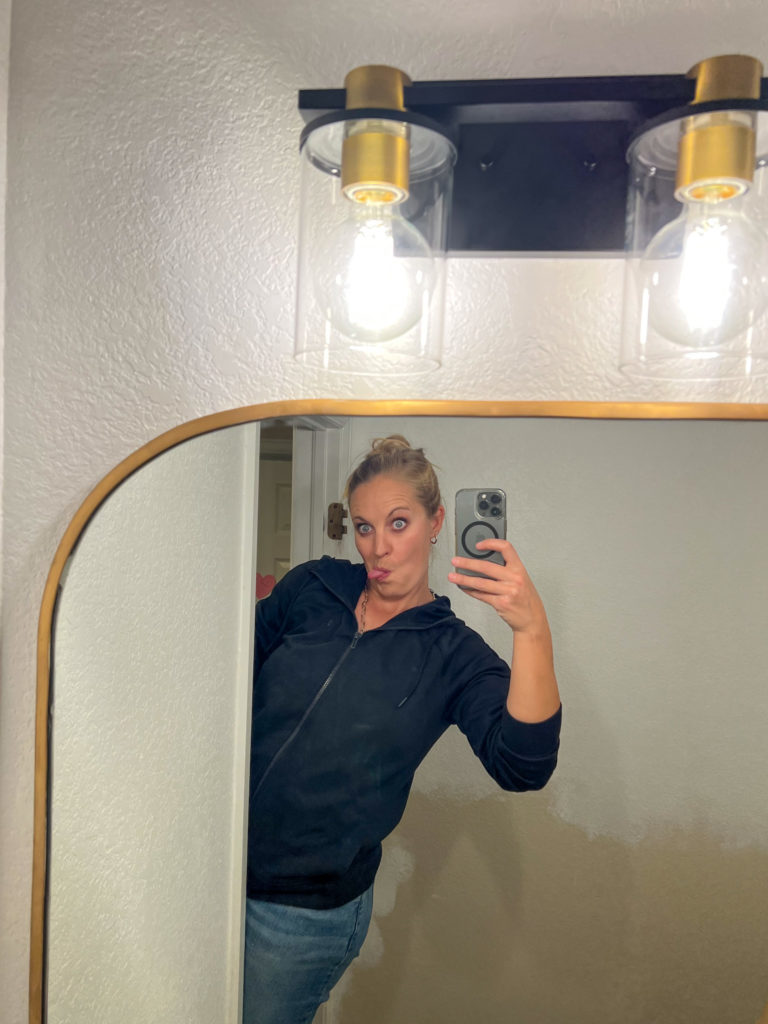
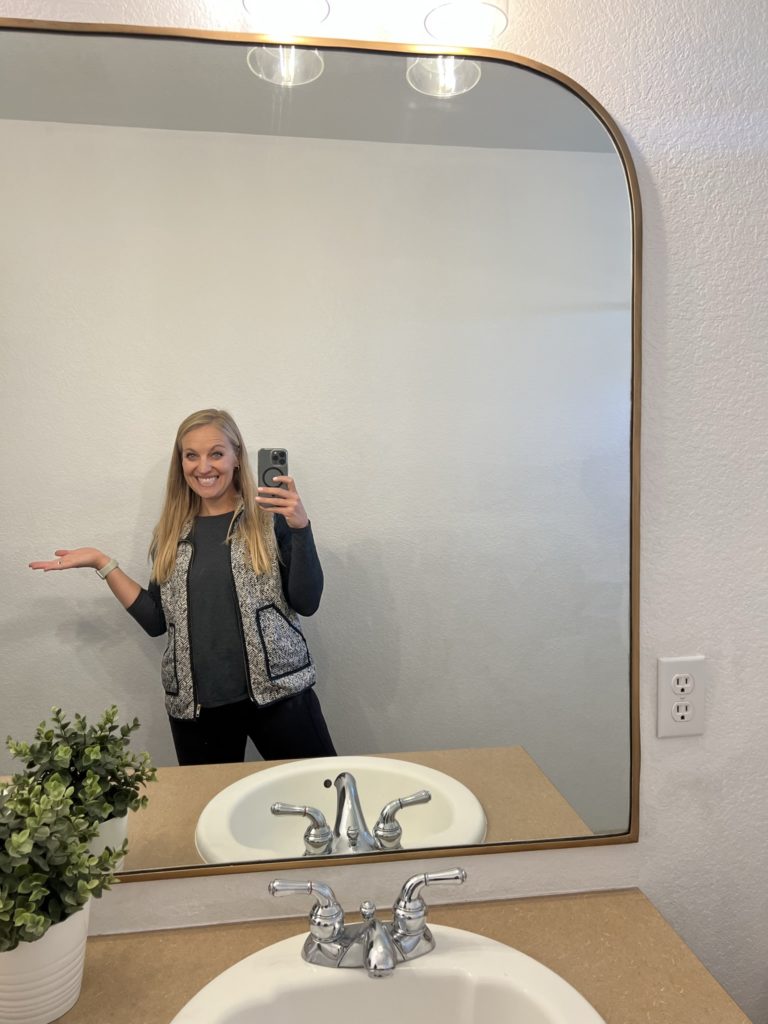
The final dimensions of the mirror ended up being 59.5″ by 41″ so it spans both sinks and light fixtures. It is huge! A custom mirror this large probably would have cost us $$thousands$$ and we DIY’d it for under $100 and you can too!!
If you prefer to see a video of this process, check out my Instagram, the tutorial reel is linked here!
Materials:
- builder-grade mirror
- painters tape
- rubber U-channel trim
- Rub ‘n Buff in Antique Gold
- 100% silicone or other mirror adhesive
- 2×4’s for cleats and bracing
Process:
- determine desired shape of mirror
- tape it off so it doesn’t break
- carefully remove from the wall
- have glass cut at the glass cutter/mirror shop
- attach rubber U-trim to mirror edge
- rub ‘n buff the trim in desired color
- re-attach mirror to the wall using 100% silicone or mirror adhesive
- admire your gorgeous thrifty mirror!
[…] got a complete facelift in 8 weeks with new tile, painted cabinets, a shiplap wall treatment, and a DIY arched mirror using the existing builder-grade mirror. Be sure to check out those projects […]
Comments