January 26, 2023
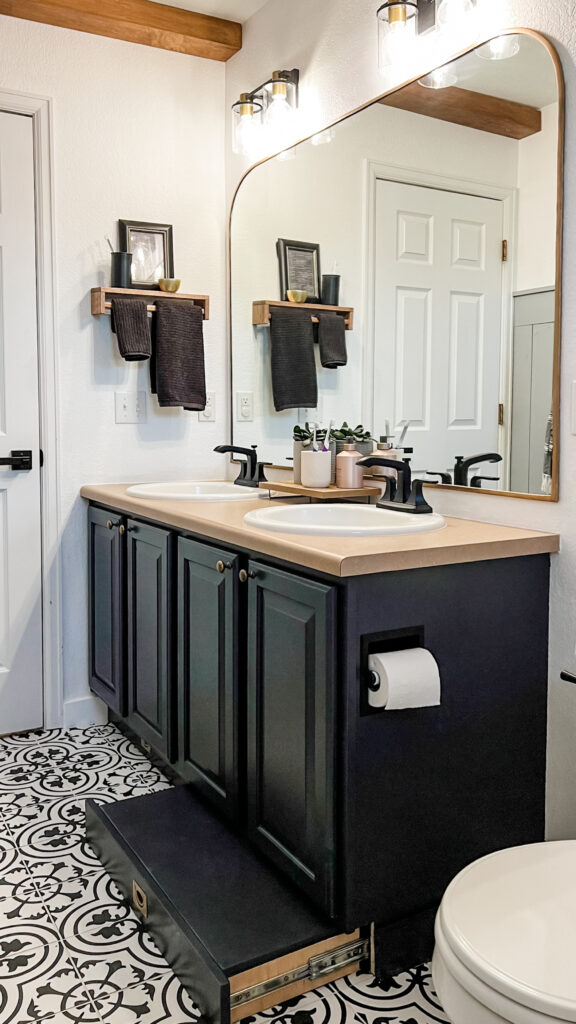
I had a vision for a built-in stool in this bathroom that I just had to figure out how to DIY it! The big bulky plastic stool was ugly and in the way and with 3 kiddos sharing this bathroom, I knew there had to be a better solution.
Enter the pull-out stool drawer. A step stool that is installed on drawer slides, underneath the cabinet that can be pulled out to use for washing hands and brushing teeth, and then easily pushed back under the cabinet when not in use! It’s beautiful and functional, my favorite combination!
1. Make the Stool
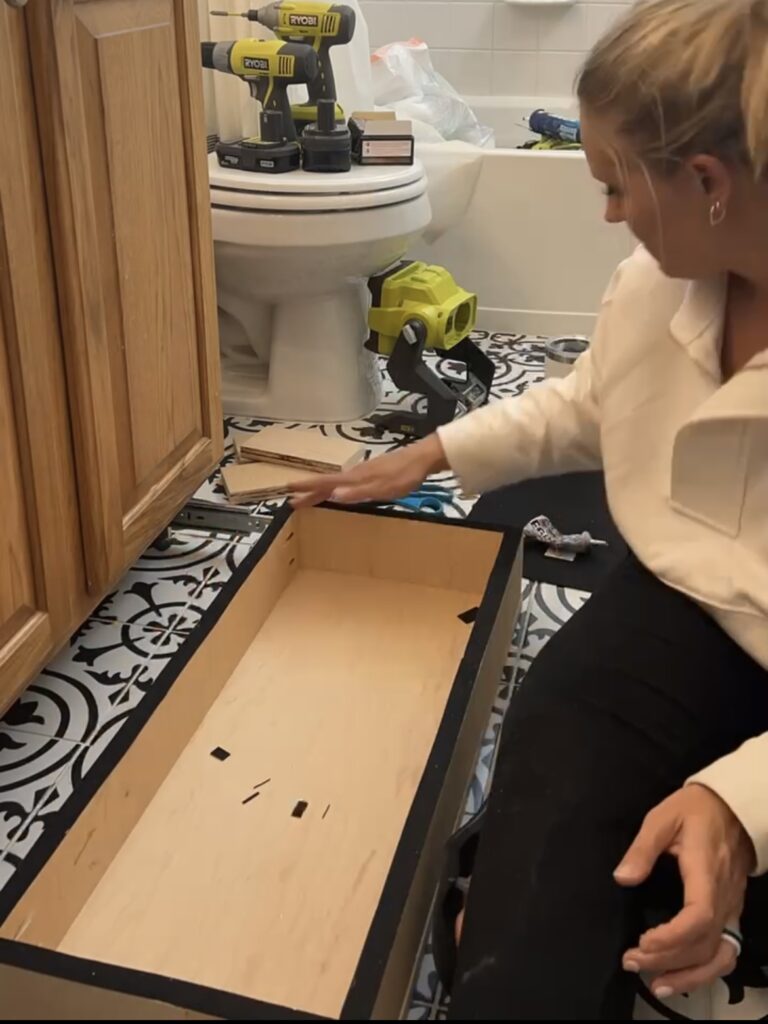
First, I removed the existing toe-kick under the cabinet which revealed a completely empty space underneath.
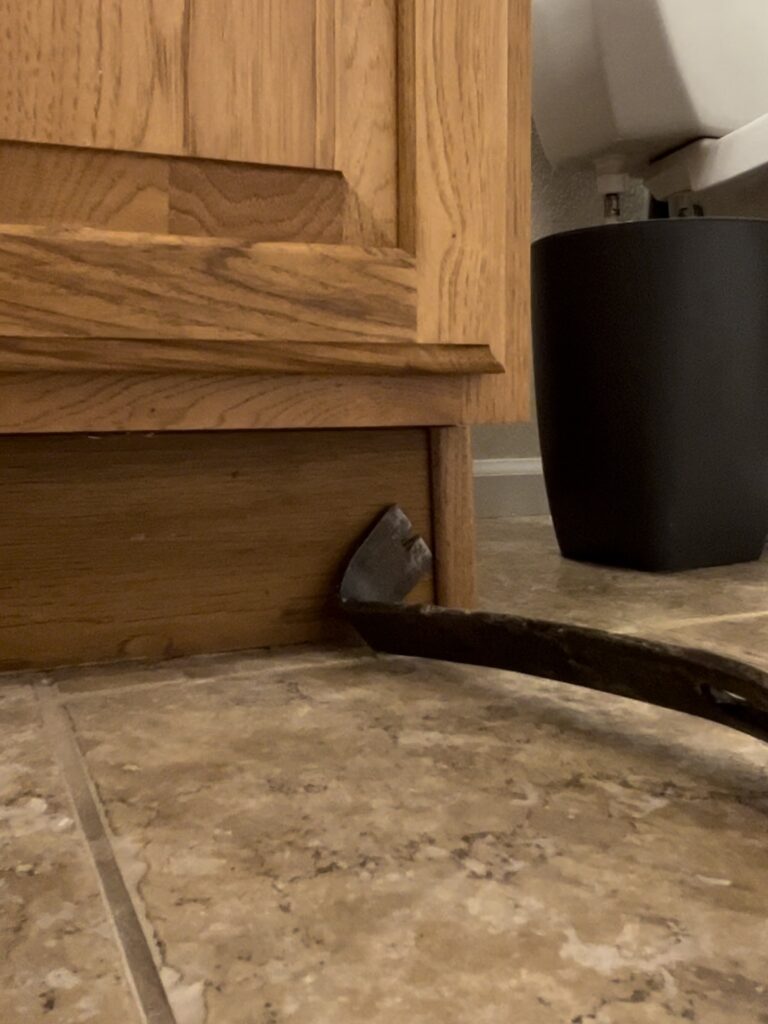
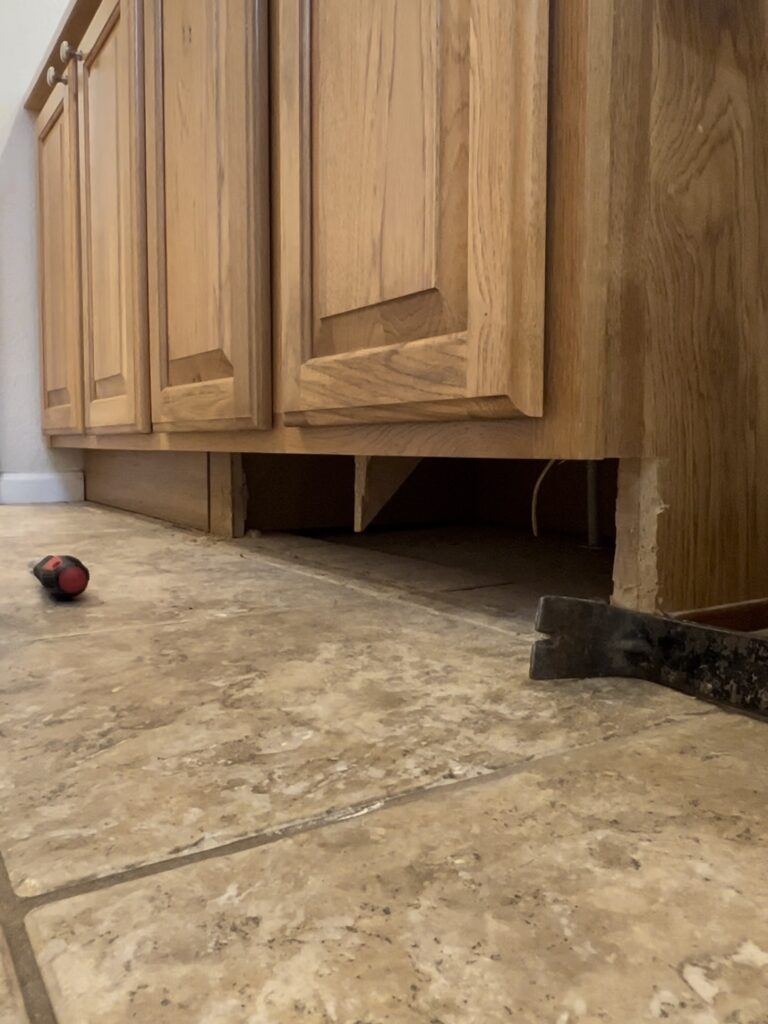
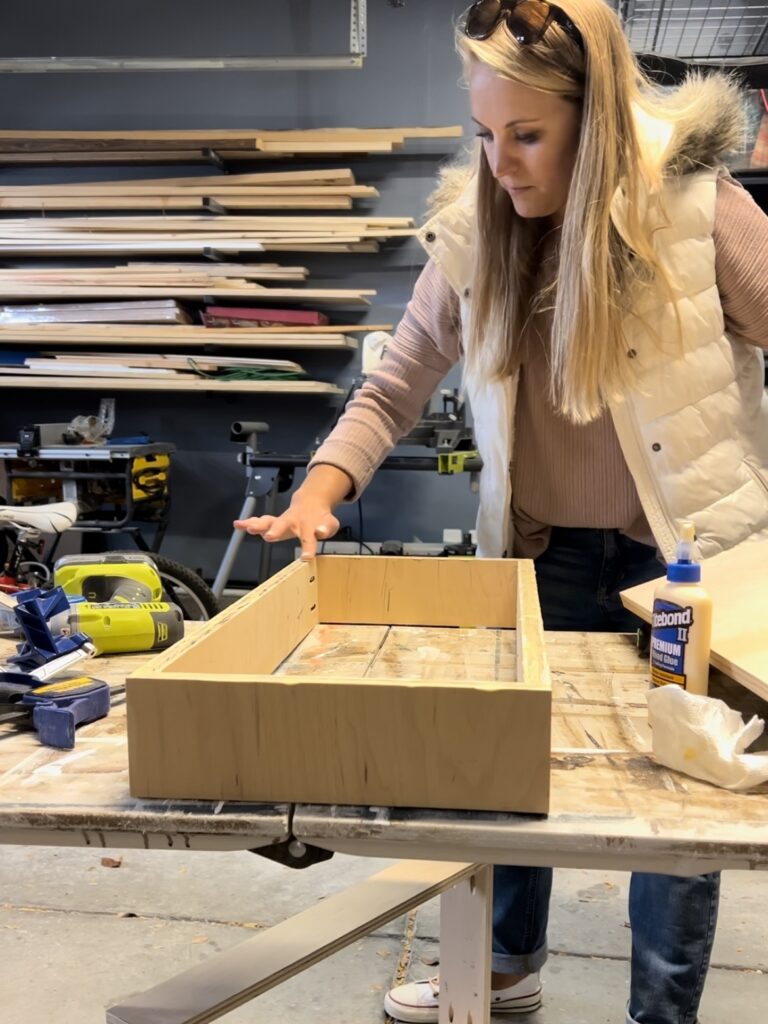
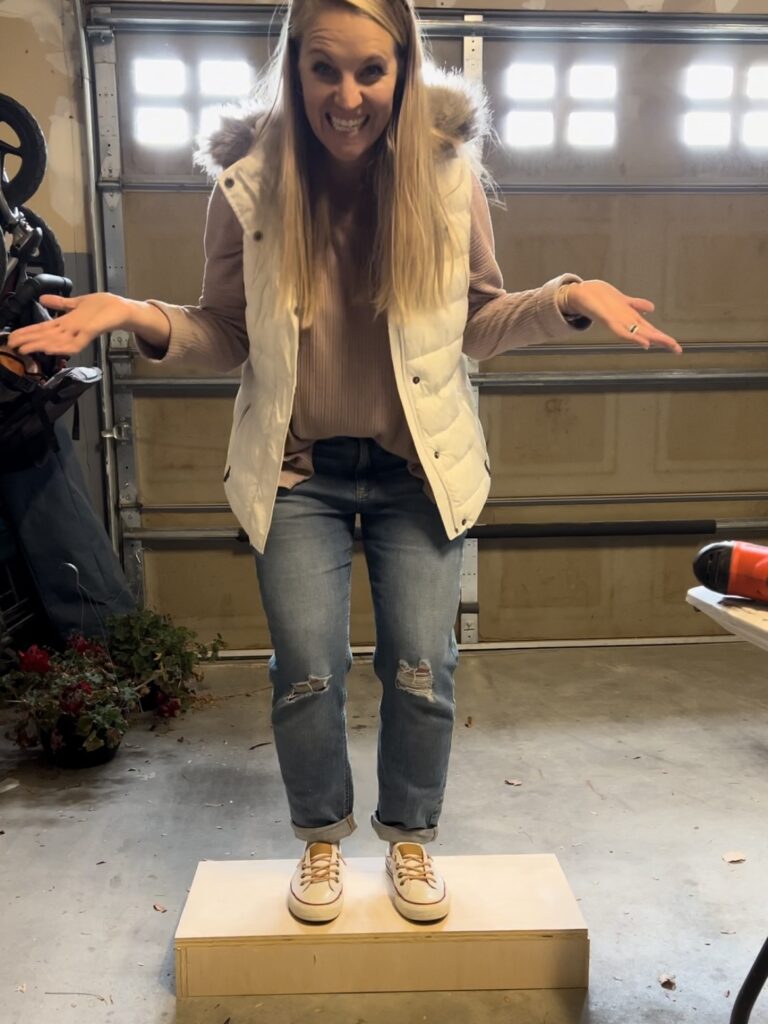
To build the stool, I constructed a drawer that would fit in this empty space, that I then turned upside-down so the flat surface is what we stand on.
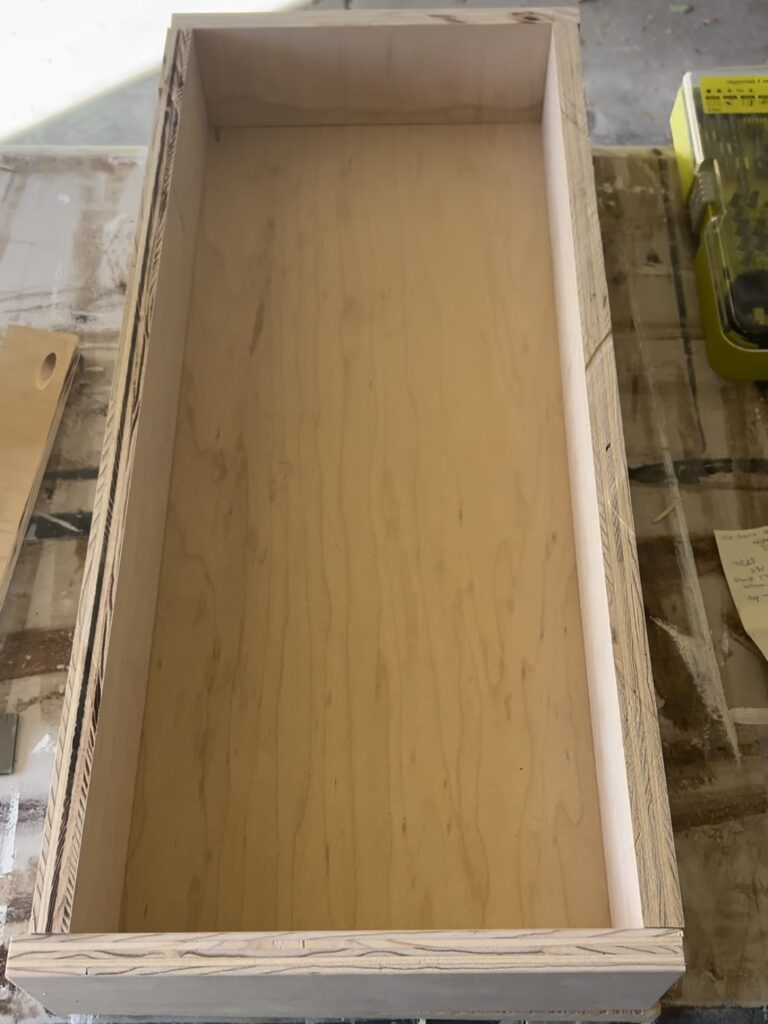
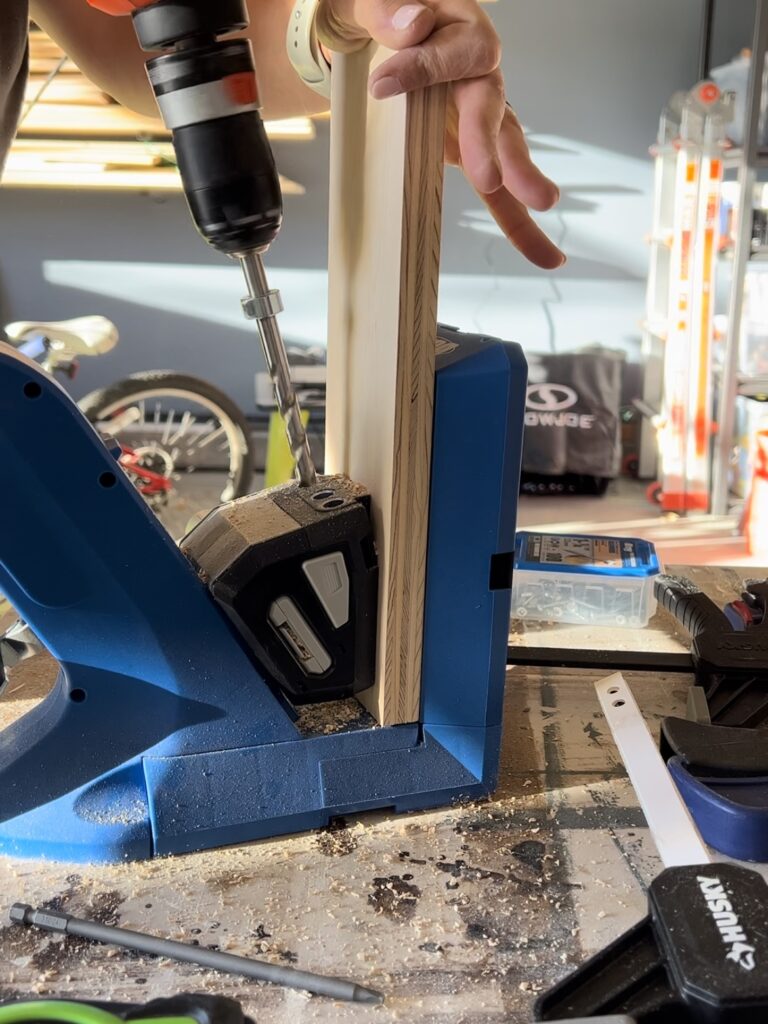
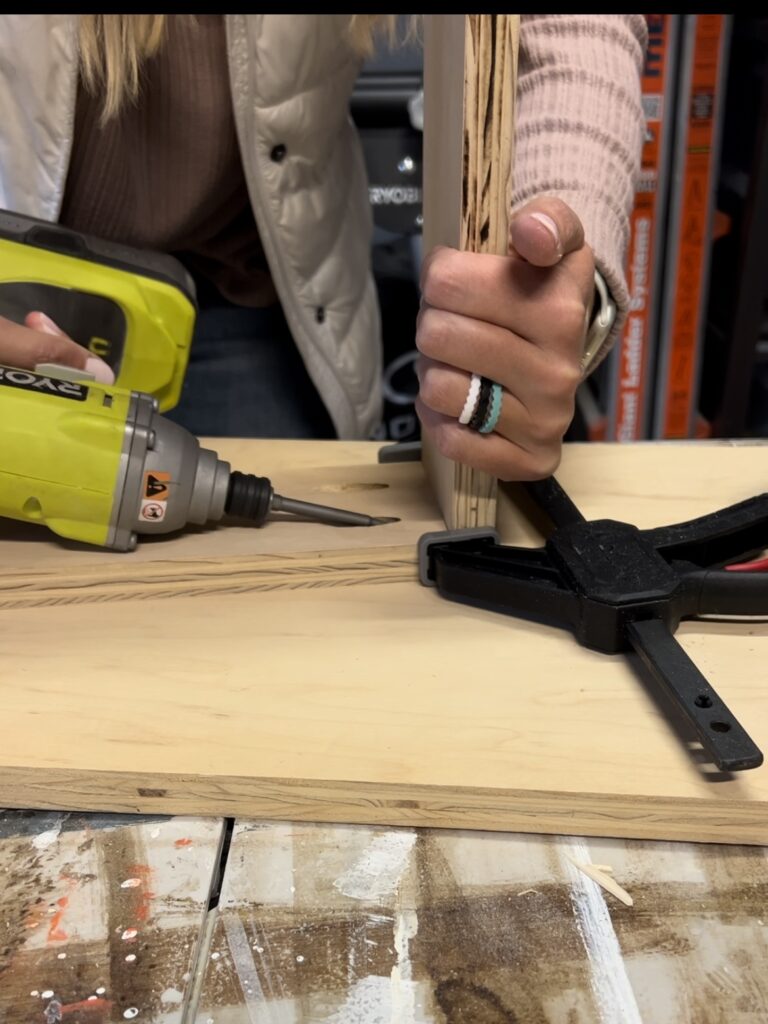
I used my Kreg 720 pocket hole jig to create the pocket holes to attach the sides of the drawer to the front and back. This allows the drawer to be really strong but you don’t see any of the screws from the outside. The Kreg 720 is so convenient and easy, it is worth every penny of the investment!
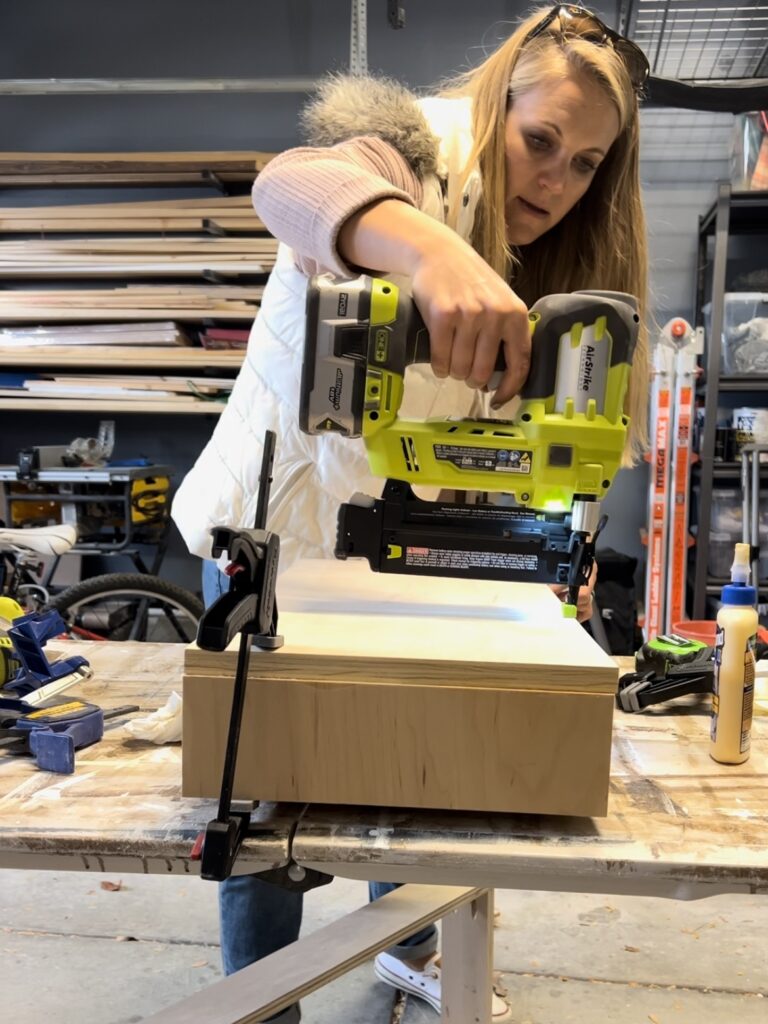
Then using a little bit of glueand some brad nails I attached the top of the drawer on the outside of the frame and it was strong enough to stand on!
2. Install the Stool
I then installed the drawer slides to the cabinets, using a scrap piece of wood as a spacer from the floor while I screwed it in.
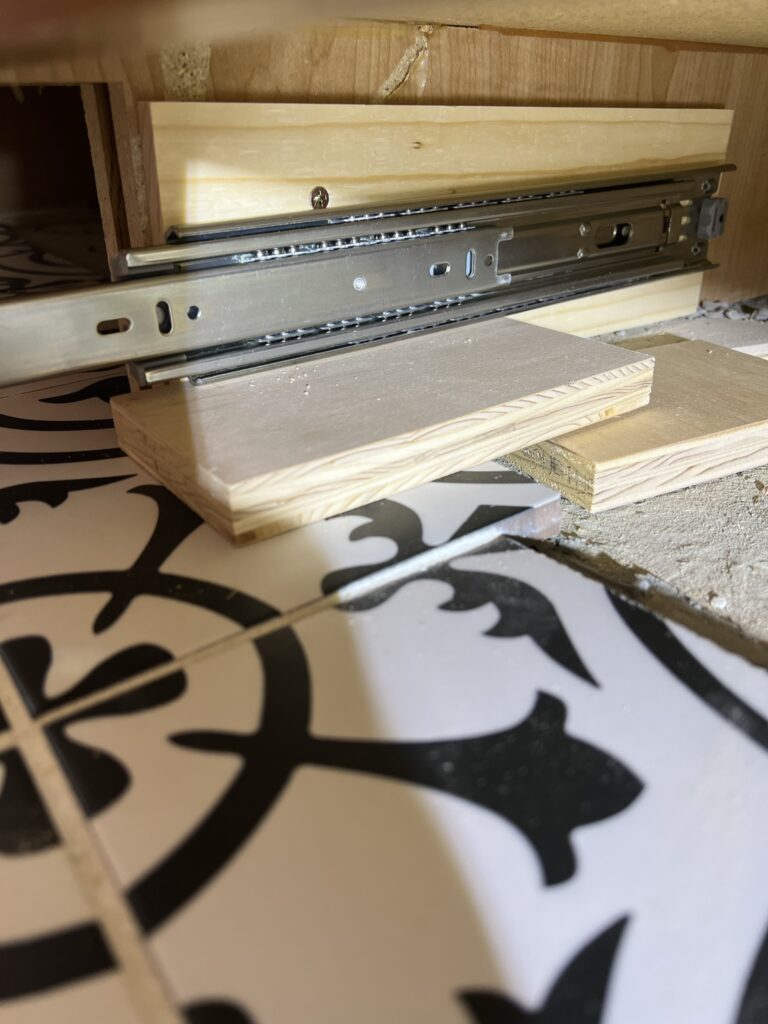
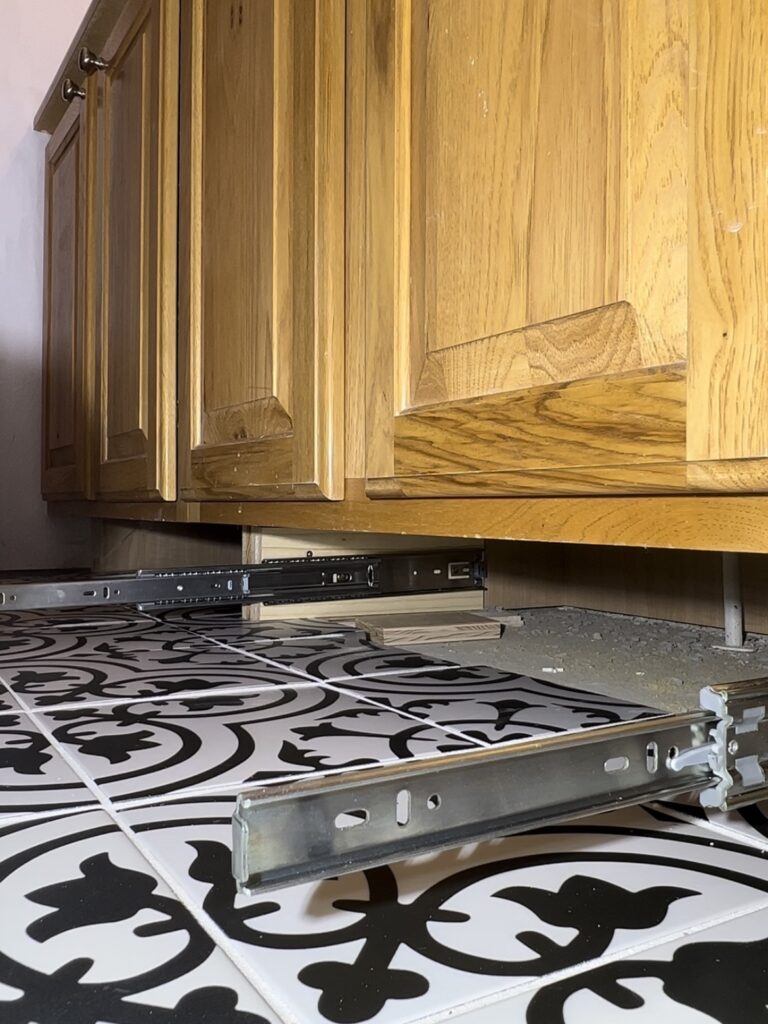
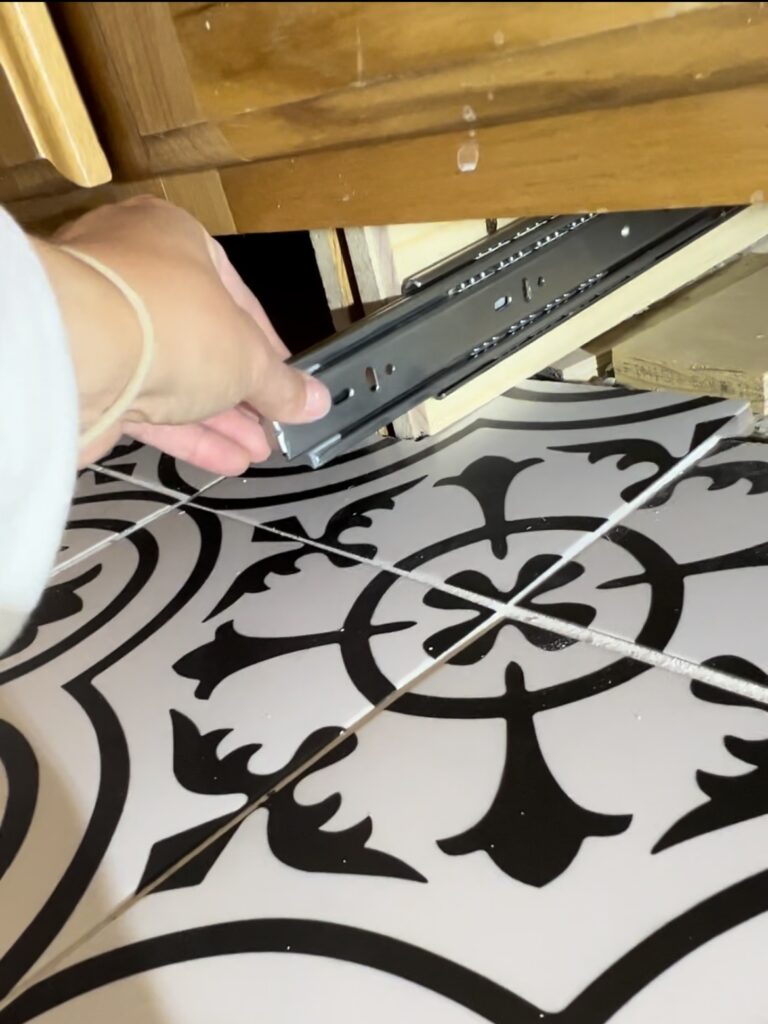
Then it’s time to add the drawer and mark where the drawer slides attach to the drawer itself. I find this easiest to do while the drawer slides are intact and mark directly on the drawer where the slides need to attach.
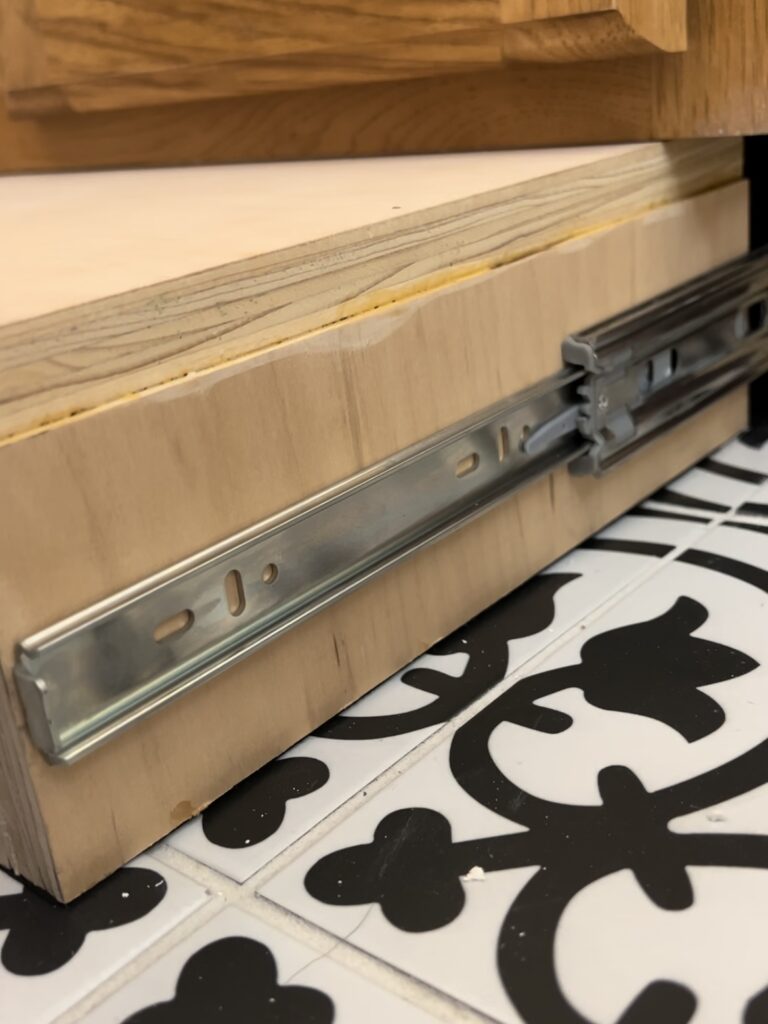
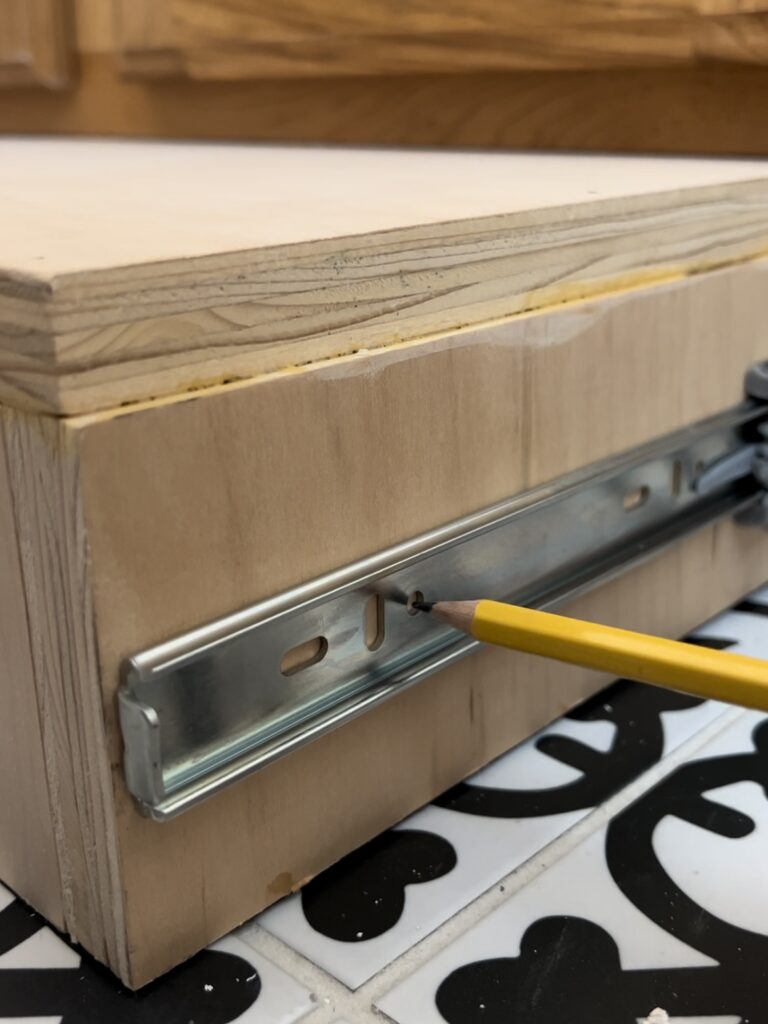
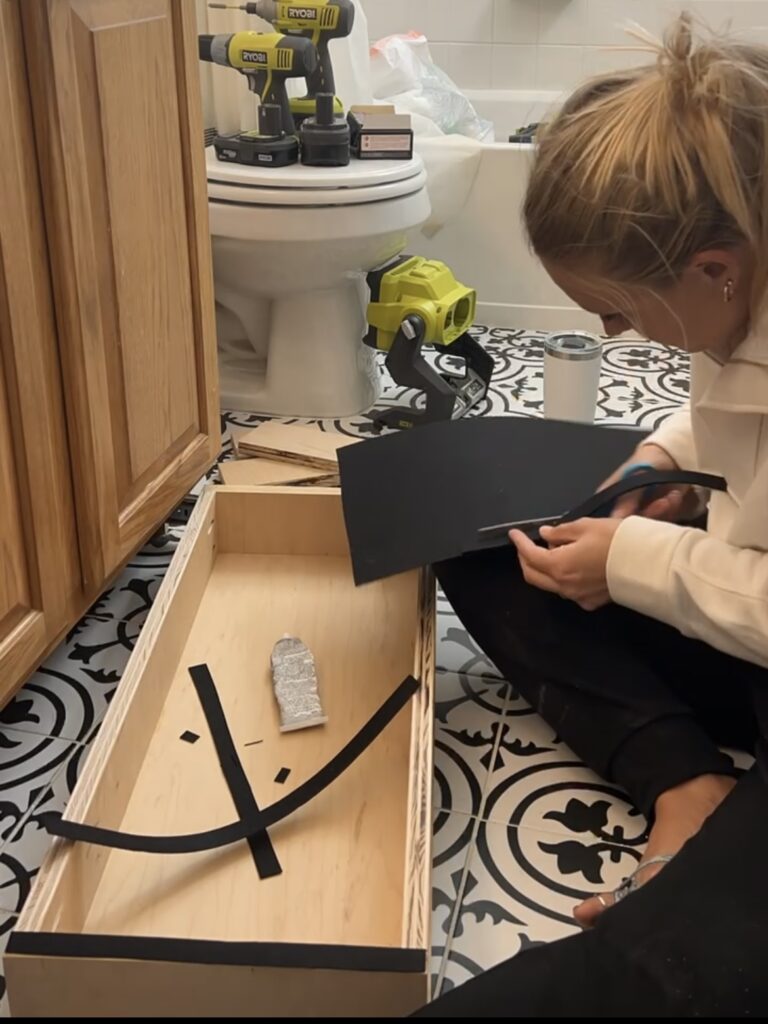
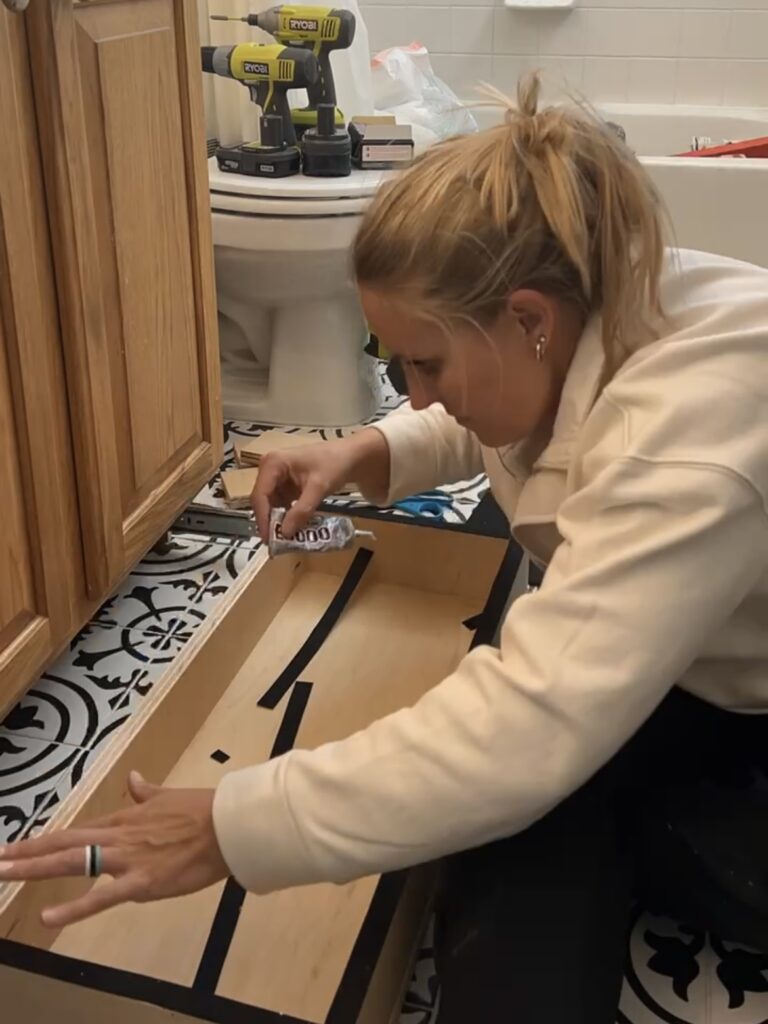
I also added some felt to the bottom that I glued on using E6000 Adhesive to make the drawer much more quiet and avoid scraping the tile as it opens and closes.
3. Make It Pretty
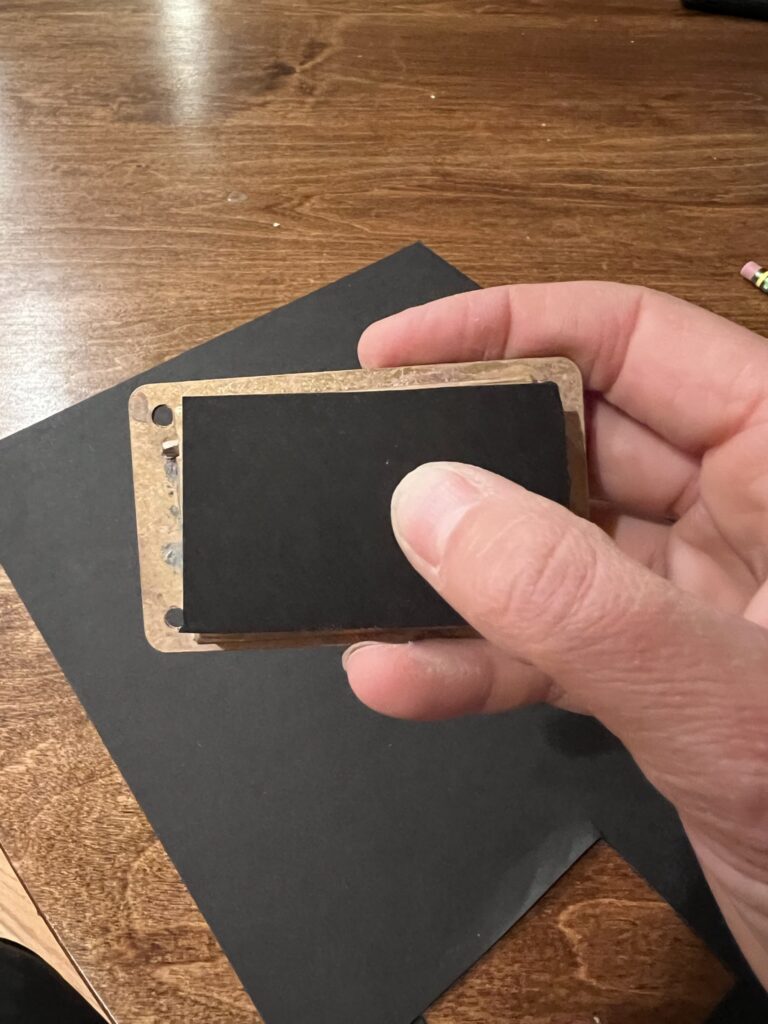
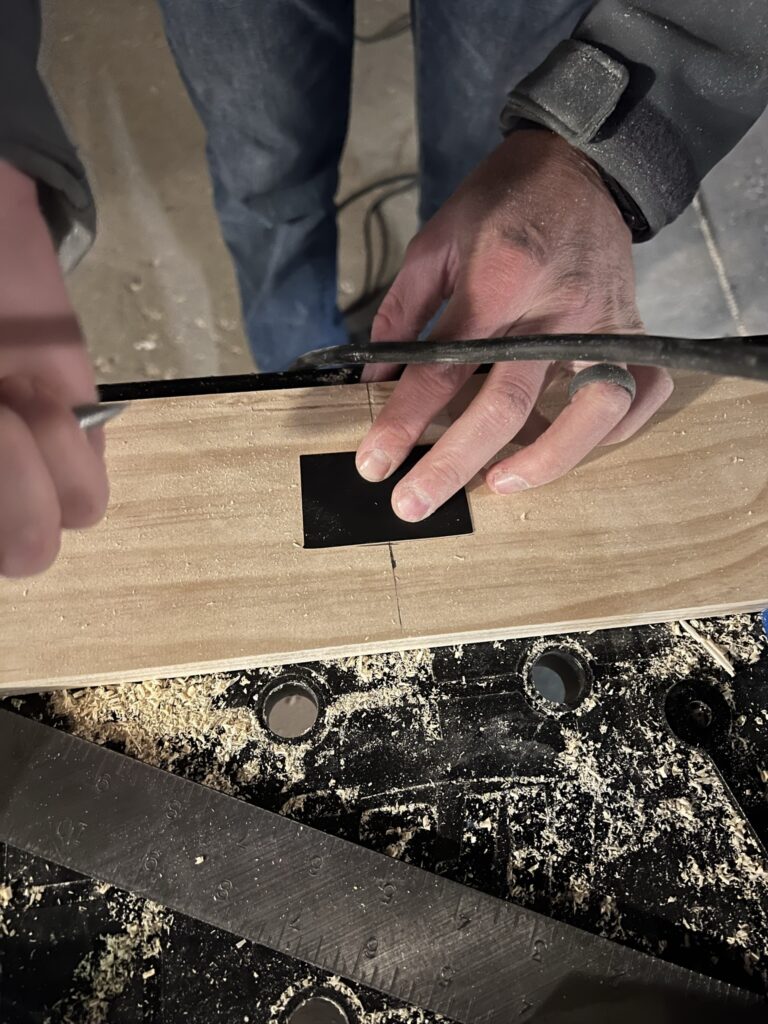
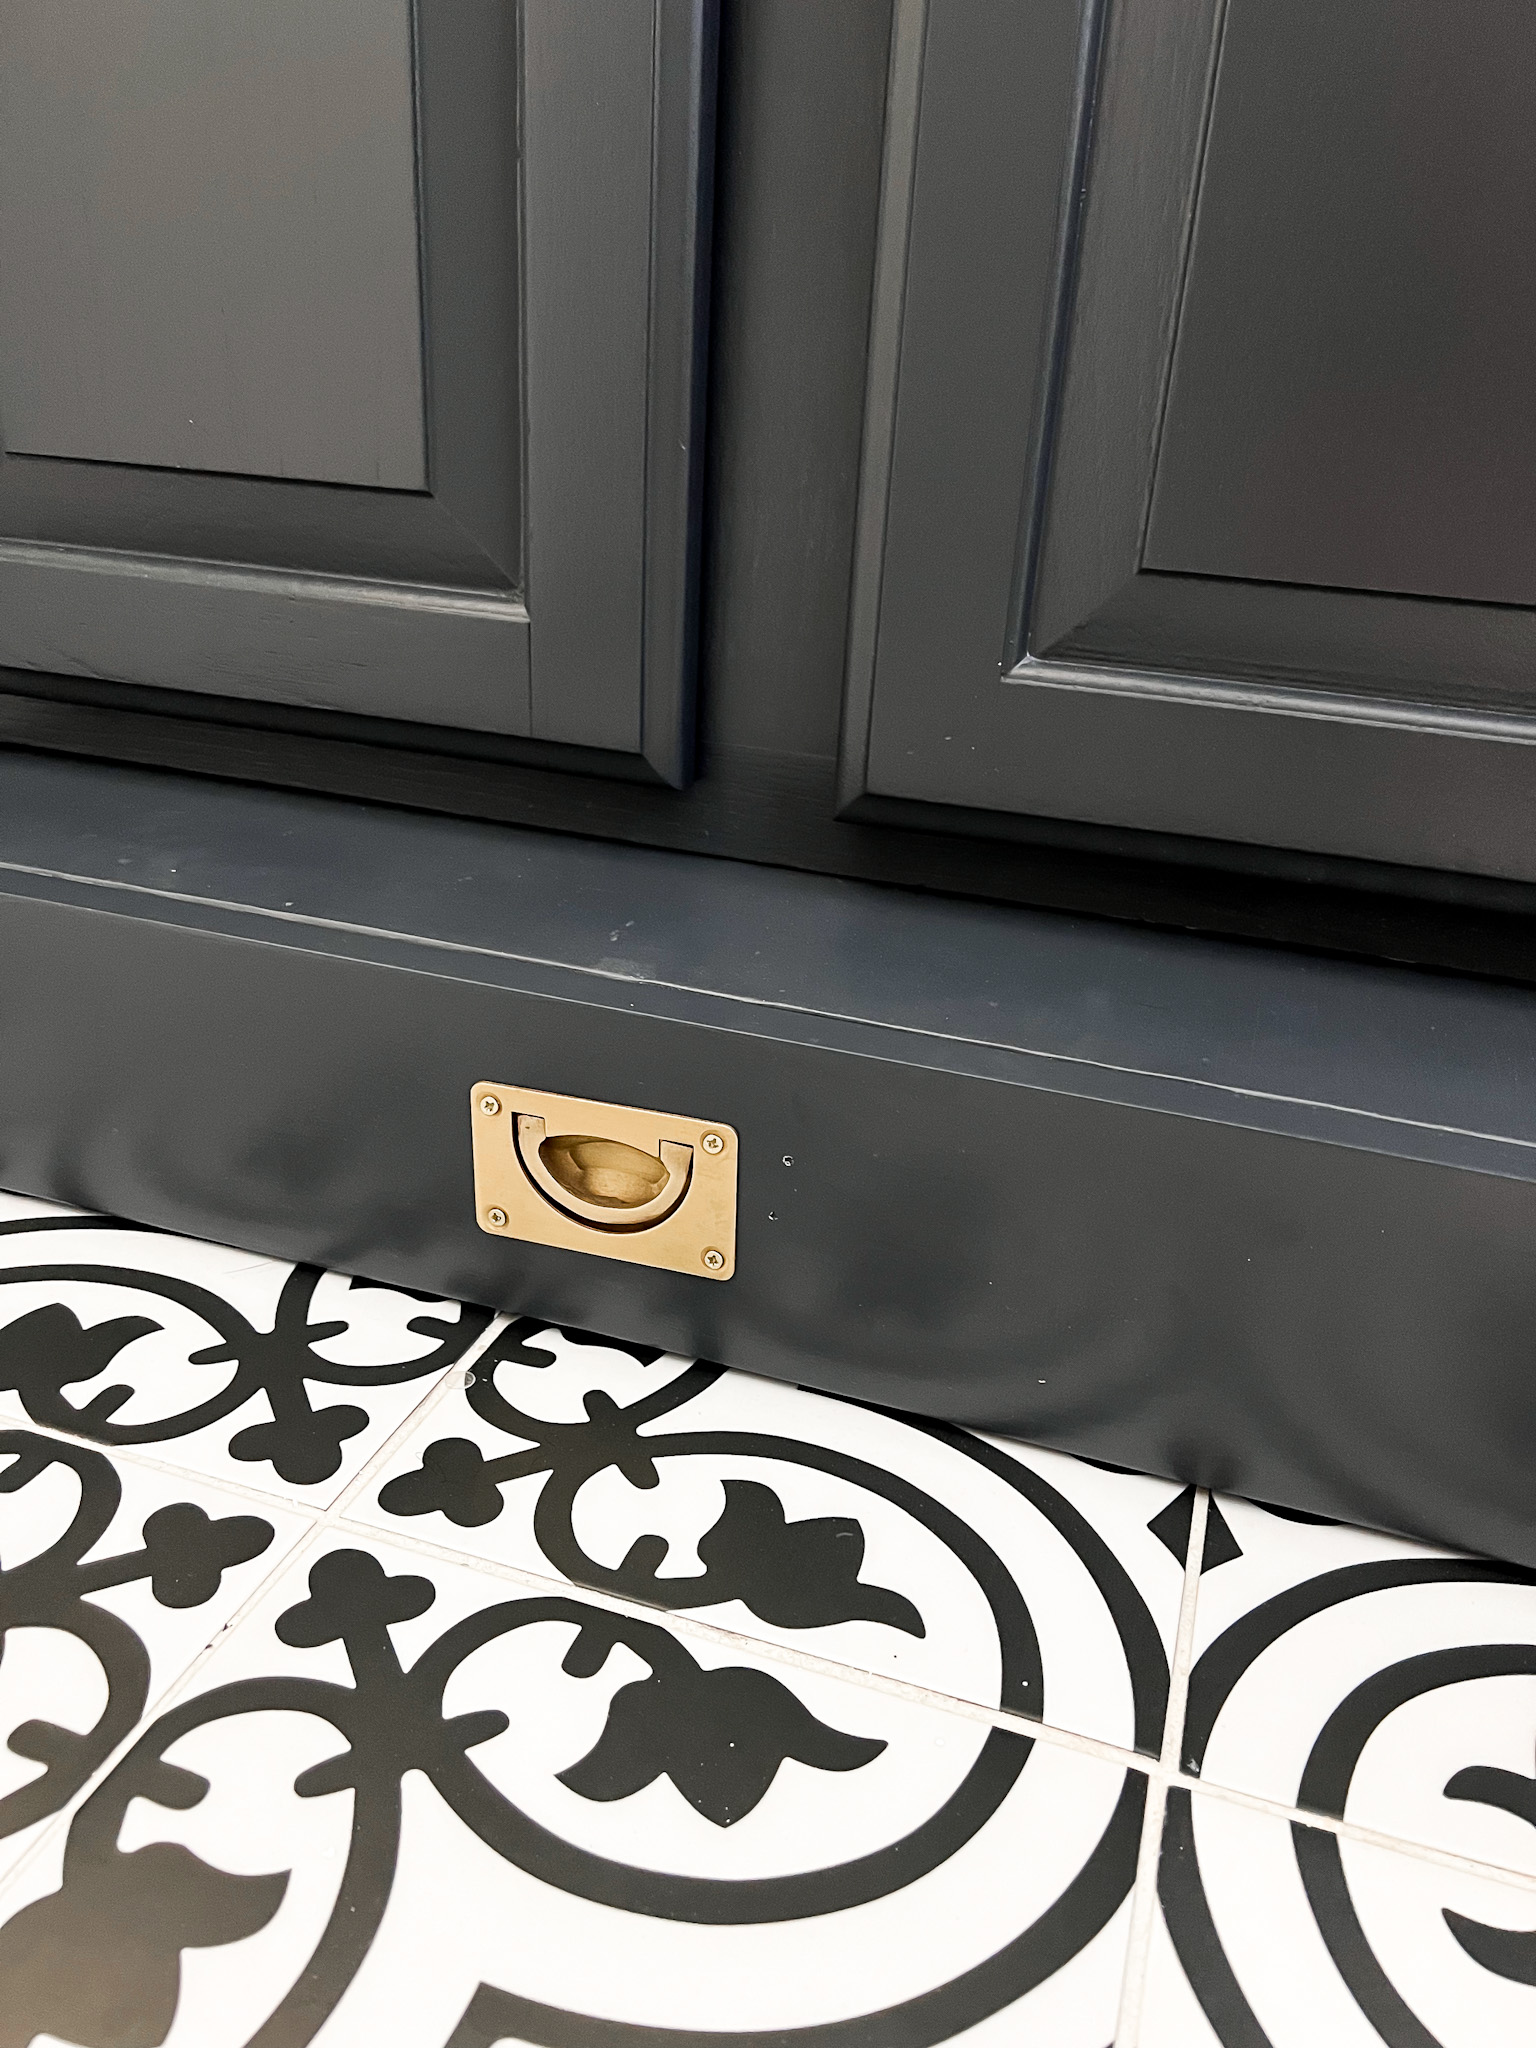
Now it’s time to make it pretty! We made the drawer front from 1×4″ wood and painted it to match the cabinets, Sherwin Williams Cyberspace and added this beautiful gold recessed hardware. Since the hardware is recessed, we traced the back of the hardware on to some cardstock, then routed out the drawer face where the hardware would be inlayed.
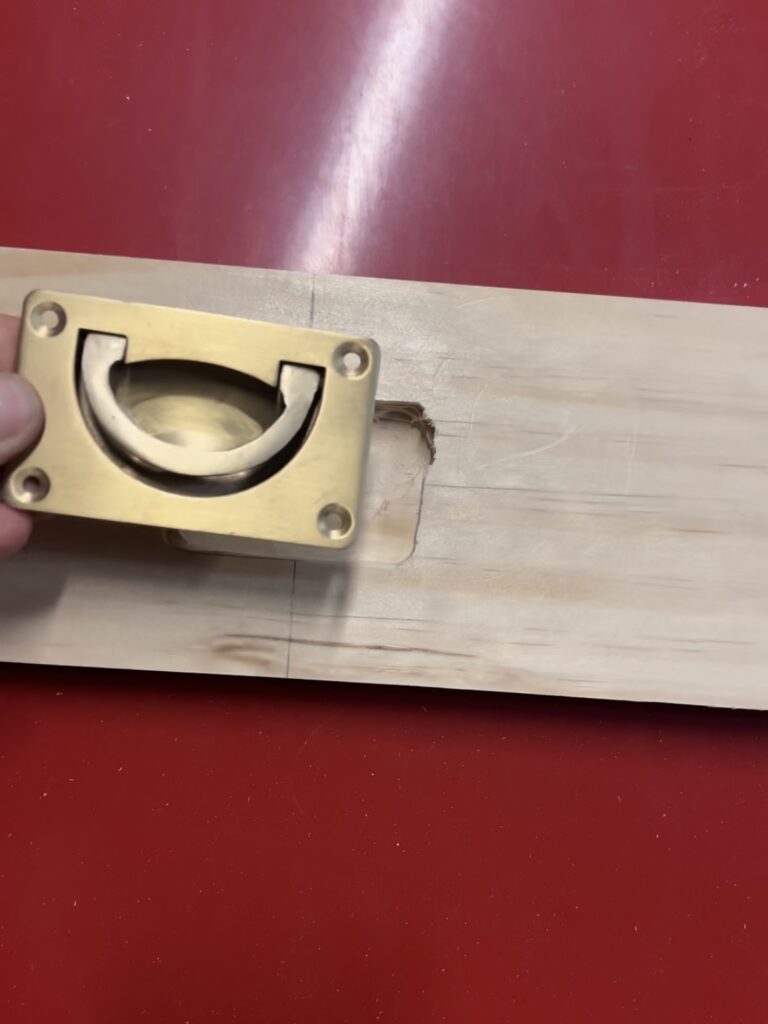
The drawer face was finally ready to attach!
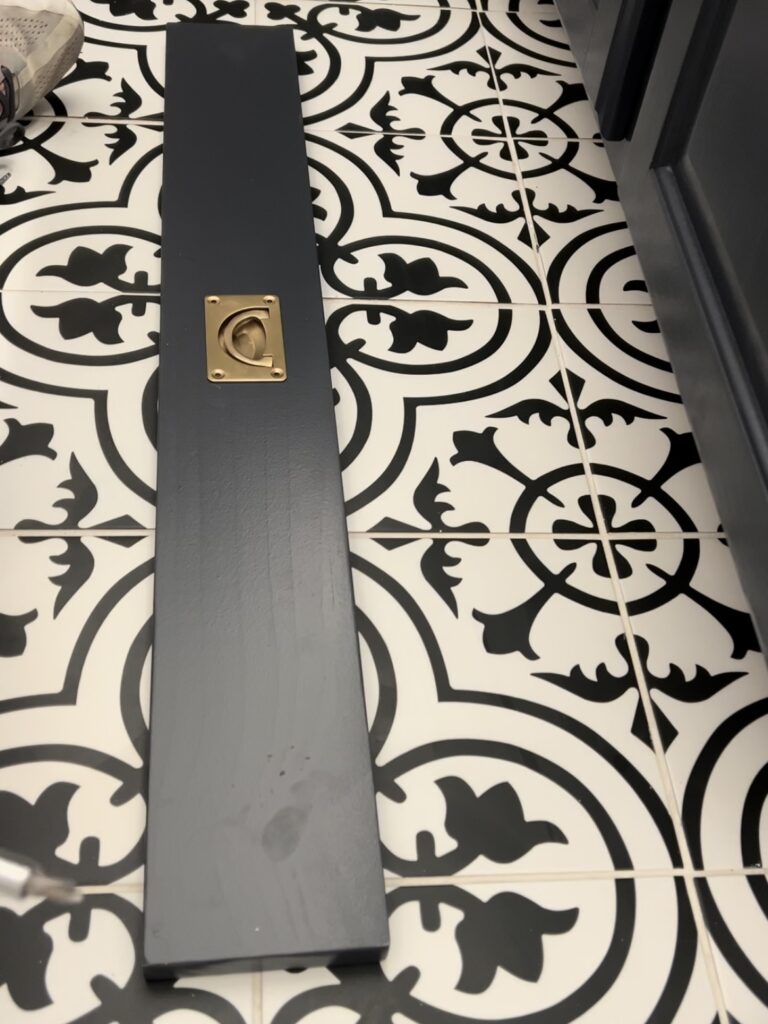
And just like that we have a beautiful, custom built-in stool that my kids can use every day!
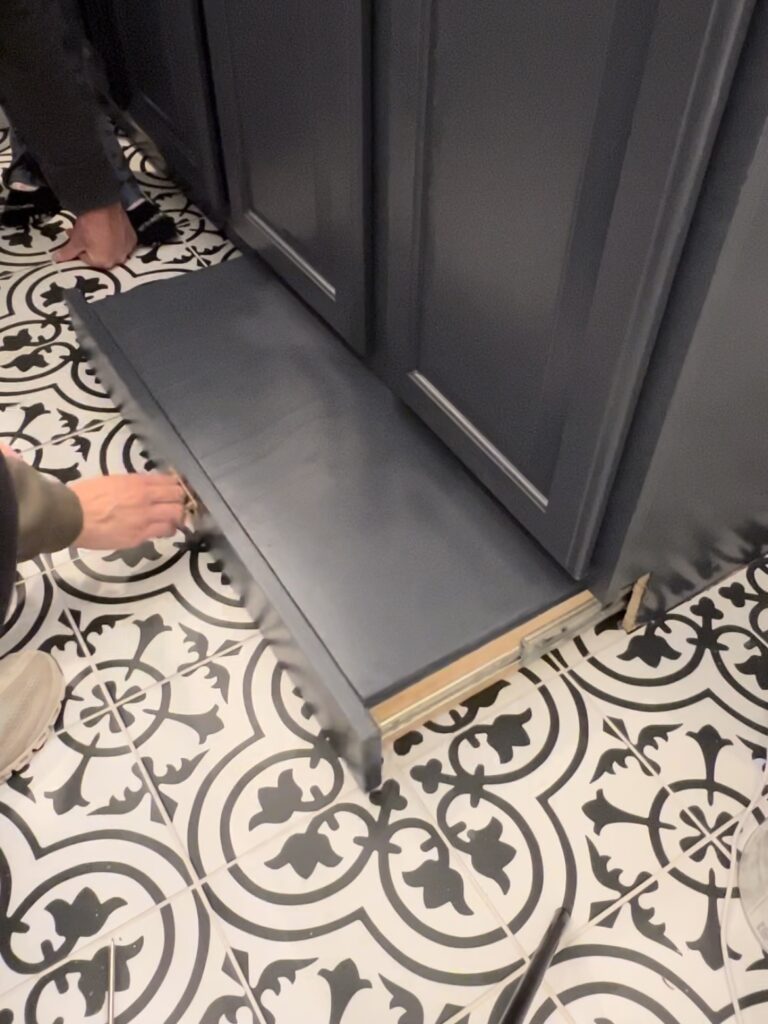
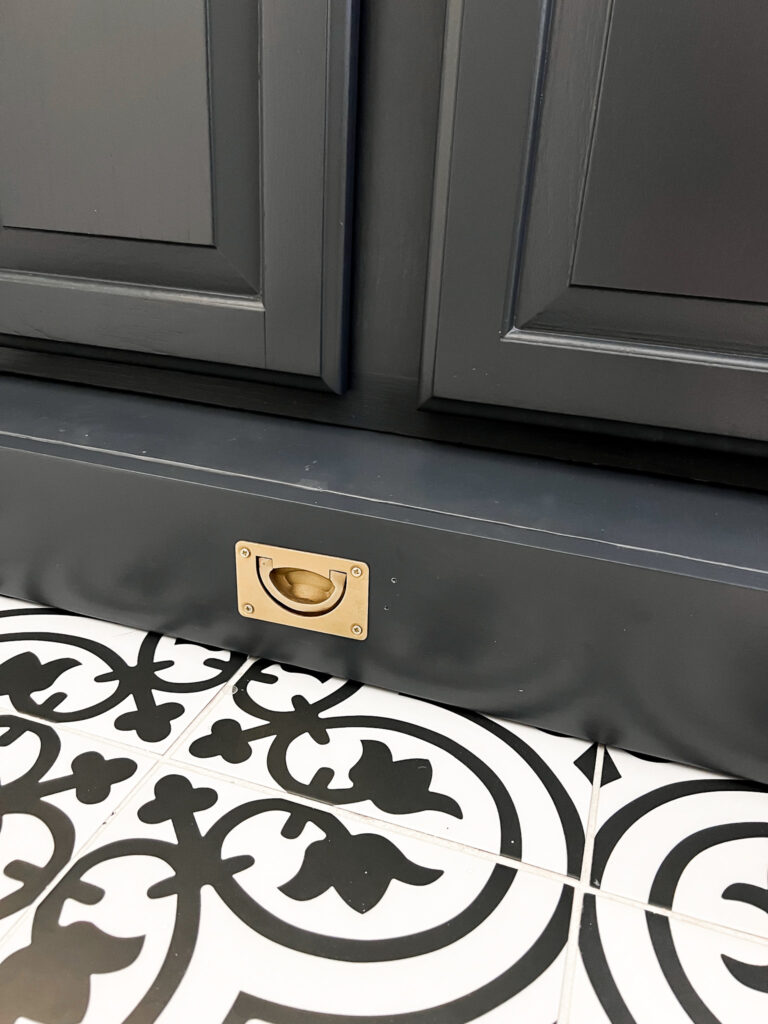
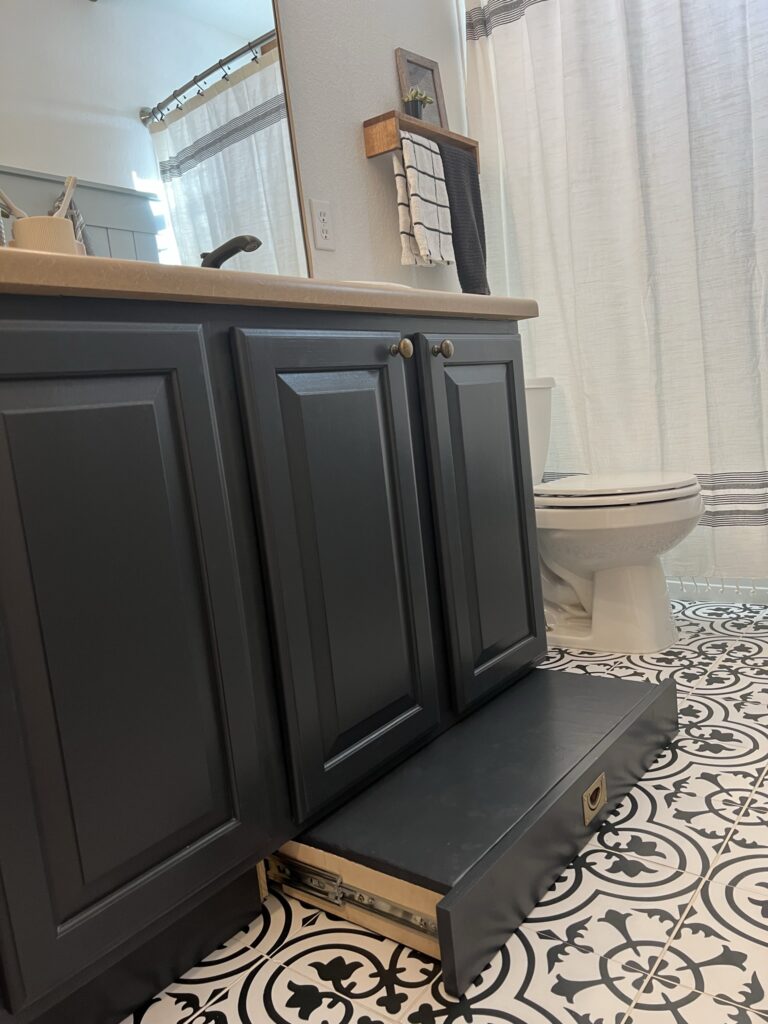
My kids love to use this stool every day and it has held up well to months of use now. It feels so custom and was a really easy addition to this bathroom renovation!
To see in-depth video tutorials, make sure you visit my Instagram and follow along!
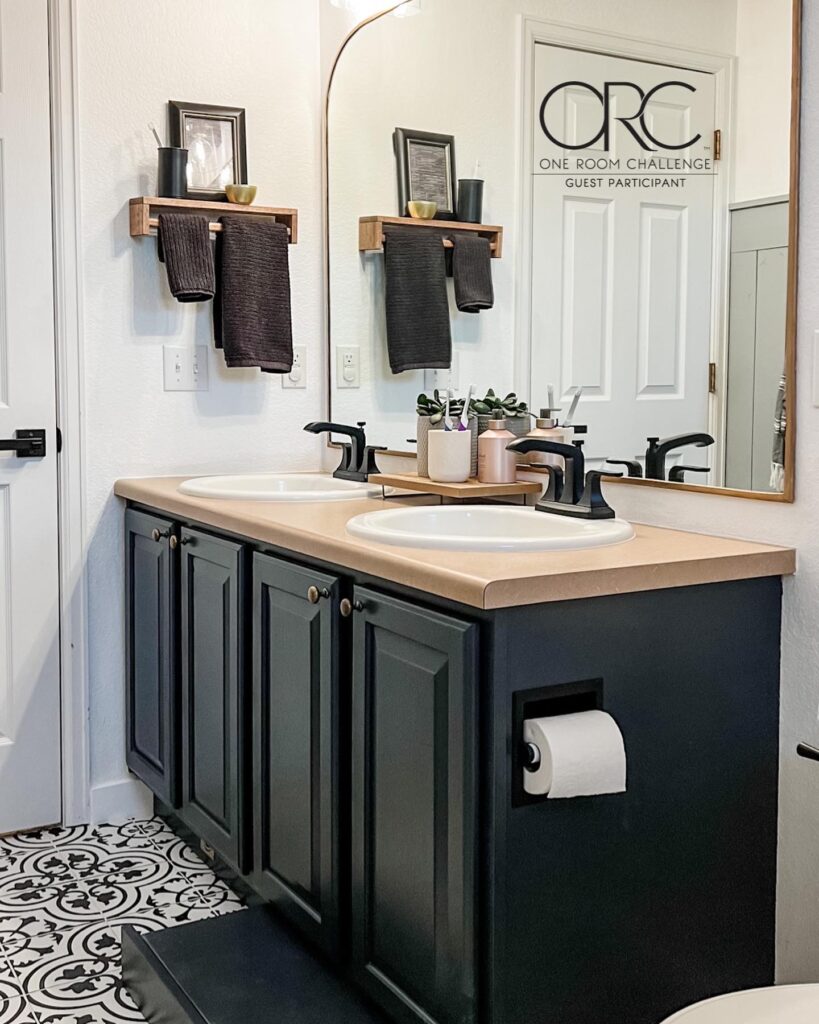
Have you been following along with this bathroom renovation? This bathroom got a complete facelift in 8 weeks with new tile, painted cabinets, a shiplap wall treatment, and a DIY arched mirror using the existing builder-grade mirror. Be sure to check out those projects too!
Comments