
July 1, 2025
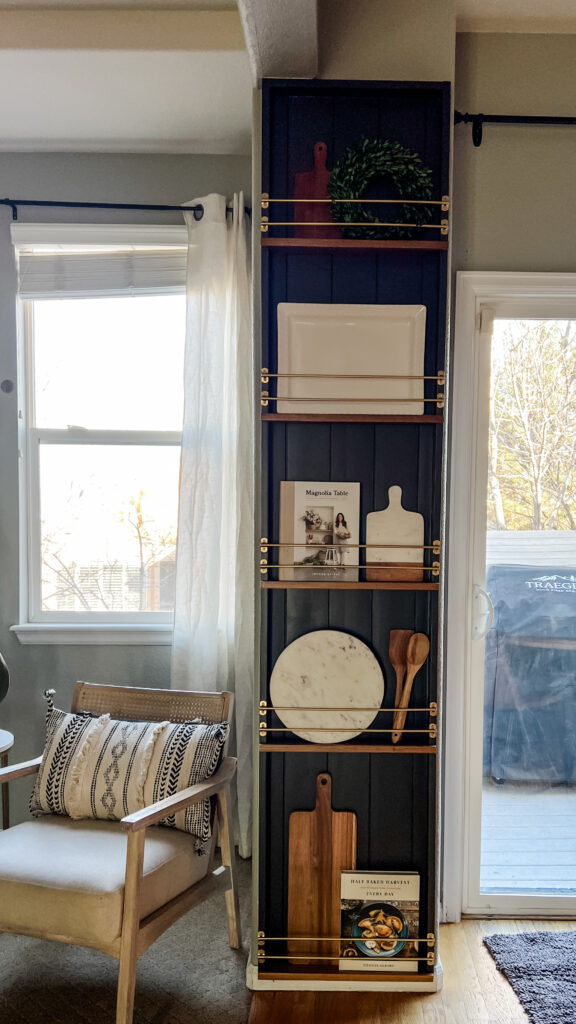
I love anything that can add functional beauty to our home. This skinny, tall, boring blank wall was screaming for help. Enter this beautiful plate rack that we can use to display cutting boards and serving trays, cookbooks, plates and more! This wall divides our kitchen dining area from our living area and after I redid the mantel last year to look gorgeous, cozy and custom, this wall looked completely uninspired – until now!
This beginner-friendly DIY was inspired by Nicole at simplyalignedhome.com who created a shiplap display rack in her home a few years ago and I knew the minute I saw it that this wall would be the perfect place for it!
Depending on your space, the details and measurements may vary, but this is how I installed this display rack in our home.
Materials and Tools
**This post may contain affiliate links to products that I recommend. If you make a purchase through an affiliate link, I may receive a small percentage of the sale at no extra cost to you. Thank you for your support**
- 1×3″ select pine boards
- 8′ primed shiplap boards
- Paint (I used Sherwin Williams Emerald line)
- Paint Supplies
- 1/4″ diameter wood dowels
- Pipe Straps
- Rustoleum Gold Spray Paint
- Stain (I used Minwax in Weathered Grey and Early American)
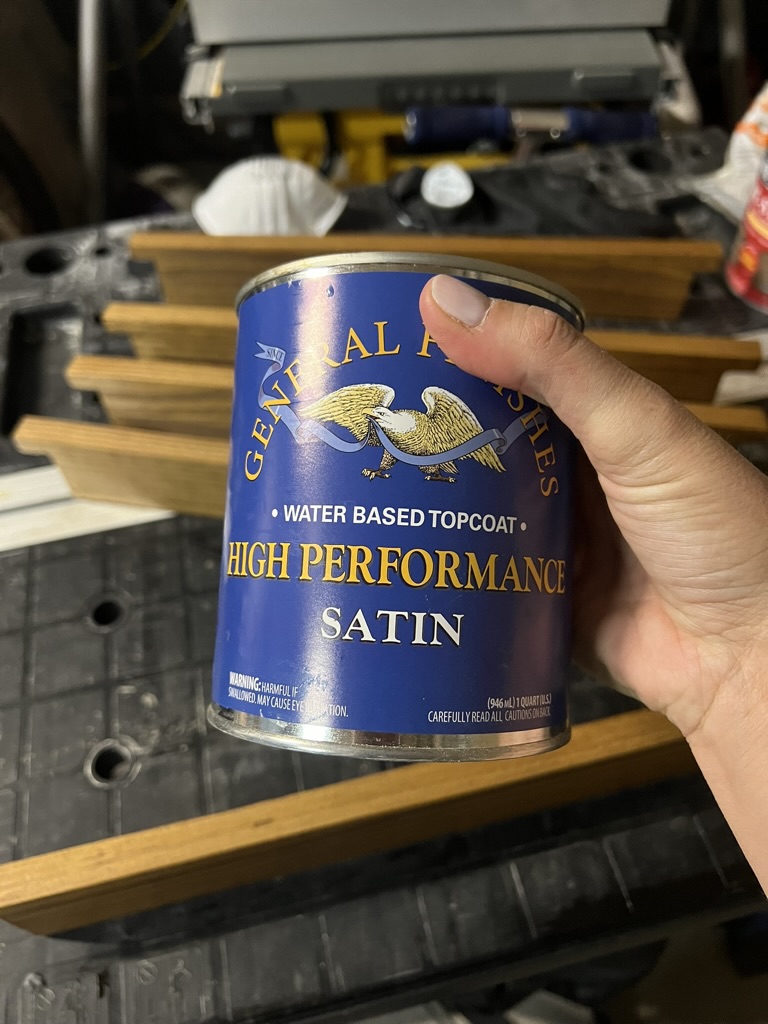
- General Finishes Polyurethane in Satin
- Staining Supplies
- Brad Nailer
- Drill
- Miter Saw
- Table Saw or circular saw (to rip down shiplap if needed)
- Jigsaw
Make the Frame
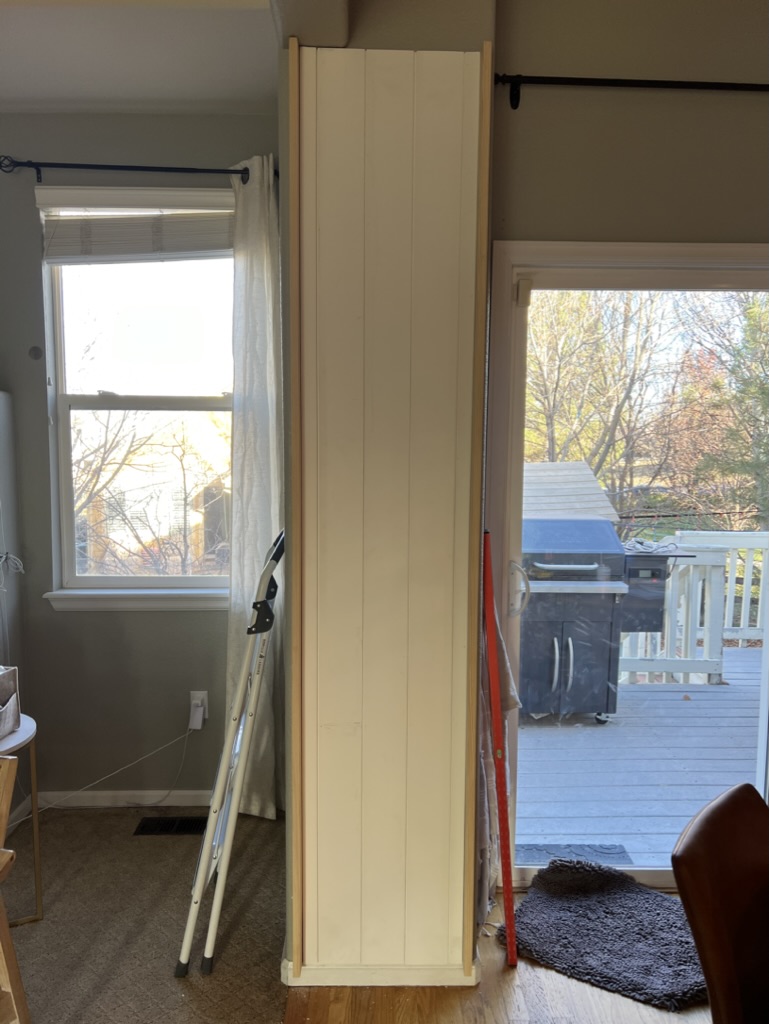
I started by using 1×3 select pine boards that I sanded smooth before installation. I cut them using my miter saw to the height of the left side of my wall. I attached it to the wall using my brad nailer and 1.5″ brad nails, angling the nails so they attached the inside of the trim to the wall (this is called toe-nailing).

Add shiplap to the back
I used 4 total boards of shiplap for the width of my wall. I was able to use 1 board ripped in half for the left and right sides and the other 3 boards in the middle. I got so excited to install everything, that I didn’t paint them as I went but I highly recommend painting the tongue and groove portions of the shiplap as you put them up to save yourself a ton of time when you go to paint!

Finish the frame
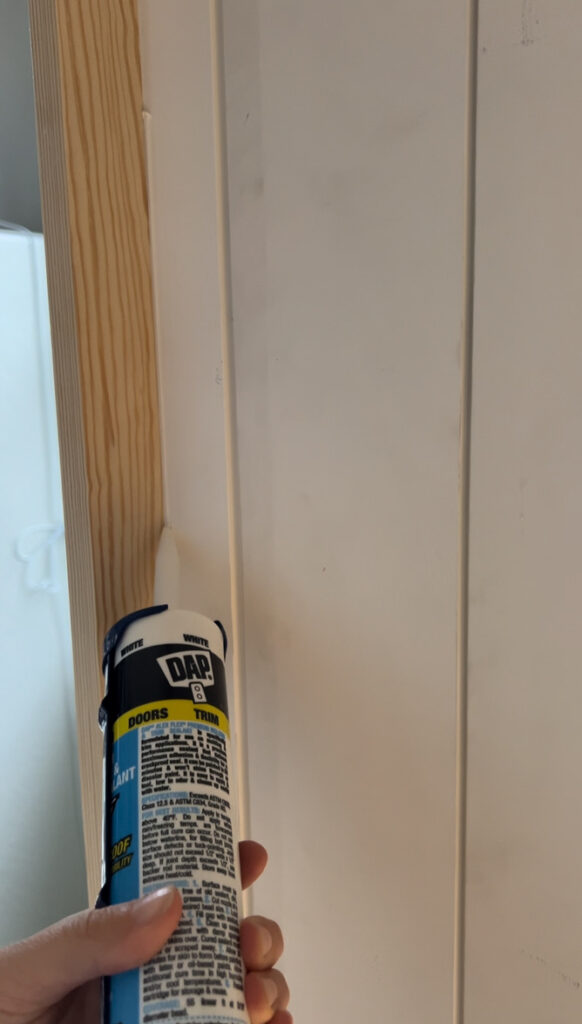
Then I added the right side of the frame by toe-nailing the 1×3″ into the wall, as well as attaching this board to the shiplap from the outside using my brad nailer.
For the top and bottom pieces of the frame, I had to rip the boards to the depth of the 1×3″ on the side, minus the depth that the shiplap added to the wall so they could sit on top of the shiplap to finish out the frame.
I caulked all of the seams and wood-filled any holes, making sure to sand everything smooth before painting.
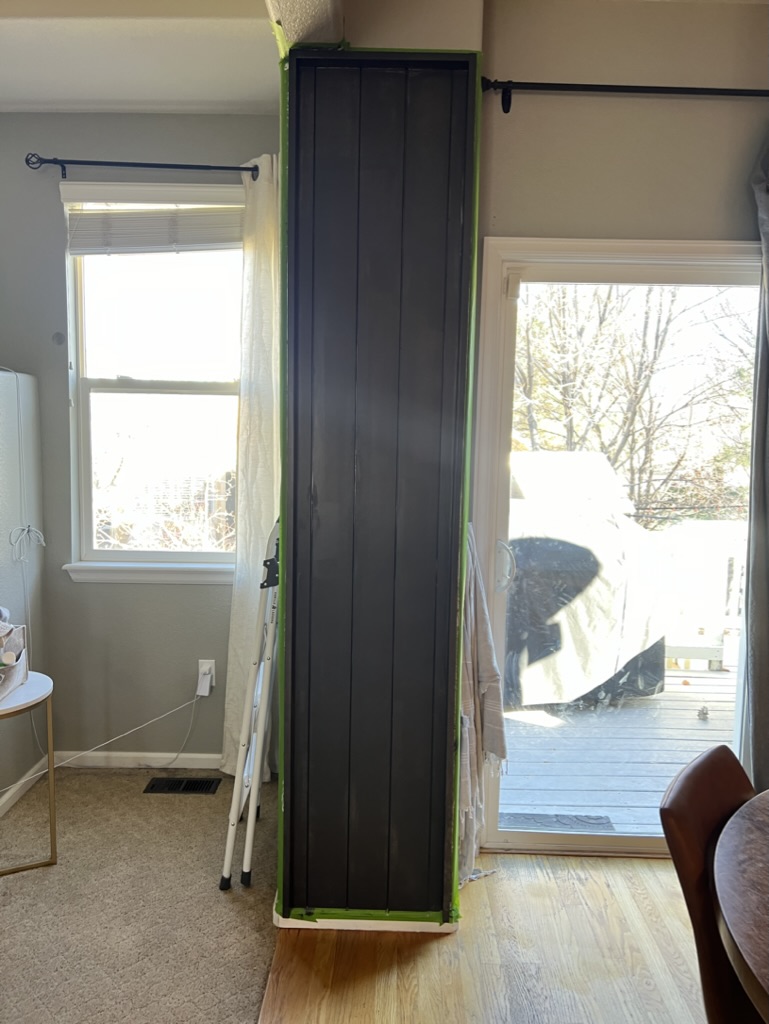
Time to paint
I painted the entire frame using Sherwin Williams Emerald paint in the color Iron Ore to tie into the other areas in my home that we have used this color as an accent color. The Emerald line is a urethane enamel cabinet paint that dries to a smooth, hard finish. It is very durable and will hold up to plates and cutting boards being taken in and out of this storage display.
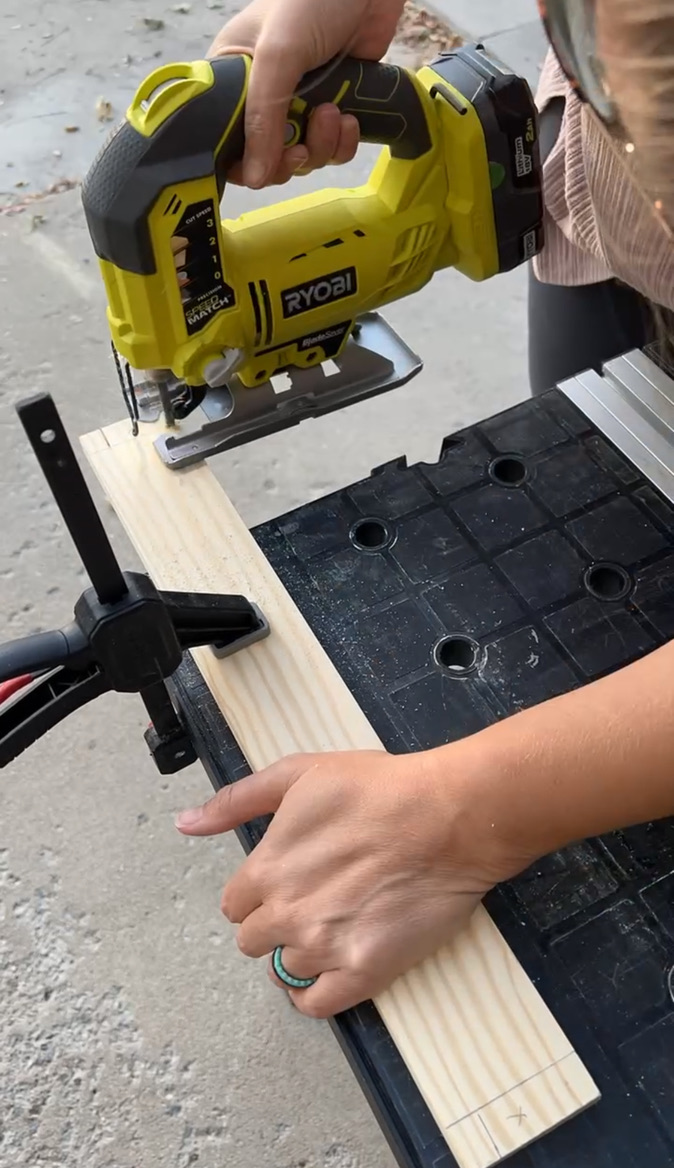
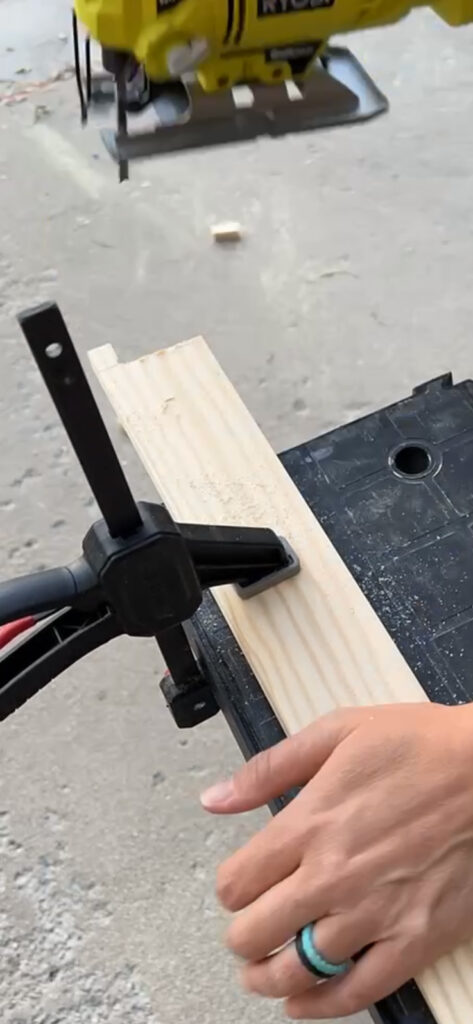
Make the shelves
I made the shelves from 1×3″ boards that I notched out using my jigsaw. Start with them cut to the external width of the frame, then notch out the width of the 1×3″ on either side and the depth to the shiplap on the back wall. This allows the shelves to sit overlapping the frame on the front.

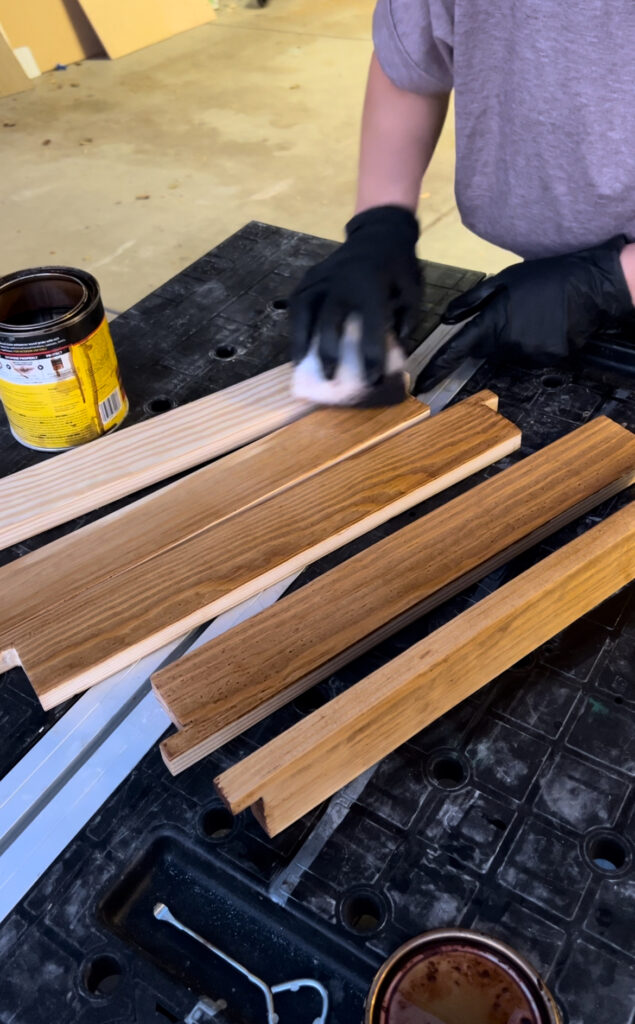
I stained them using a coat of Weathered Grey to reduce the yellow from the pine wood, followed by 2 coats of Early American (both from Minwax). I sealed them using my favorite polyurethane from General Finishes.
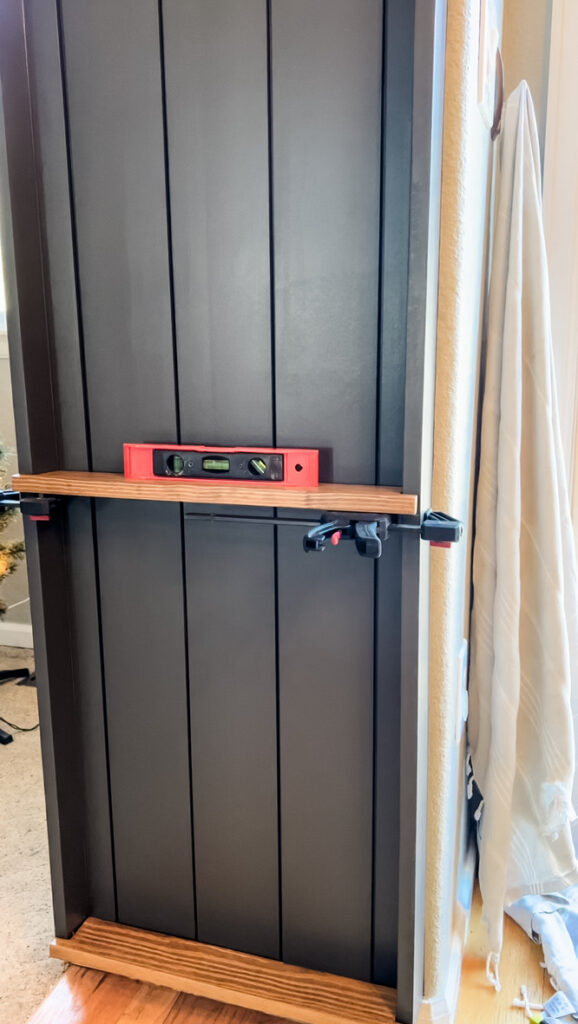
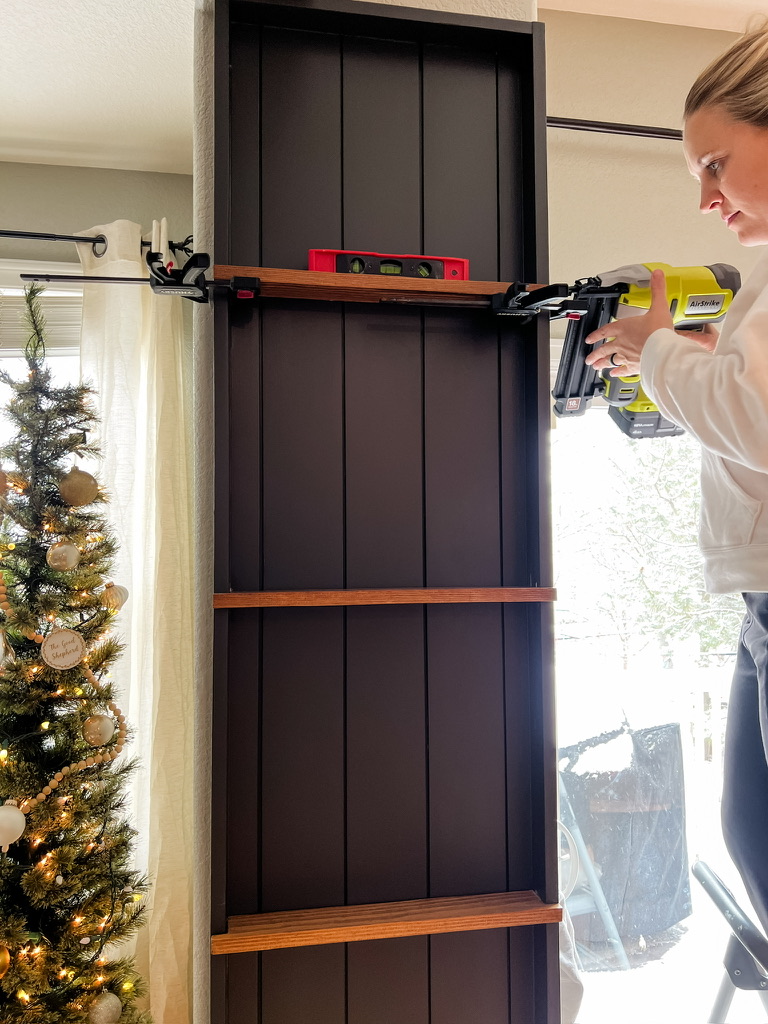
Making sure the shelves were level, I installed them using a little bit of wood glue and a few brad nails attached from the outside of the frame.
Add the tipping rail
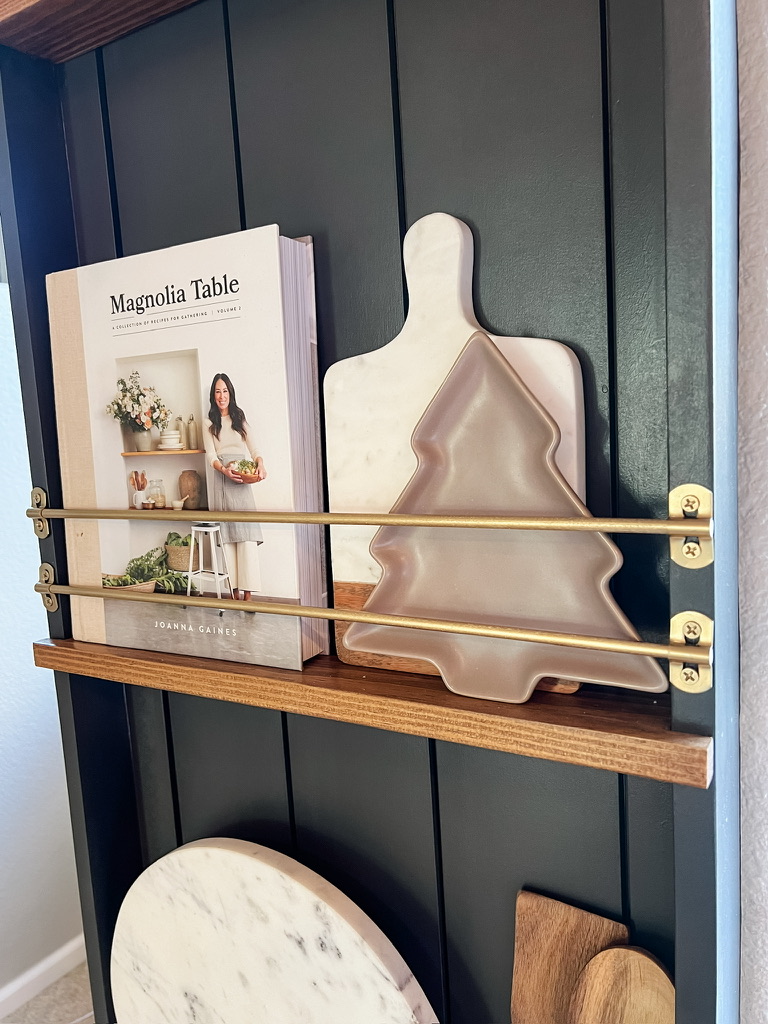
I wanted a metal tipping rail but I couldn’t find brass dowels in the right length so I decided to make wood dowels look like metal and attach them using pipe straps for a unique, exposed hardware look. Pipe straps are usually used to hold plumbing pipes in place but I love the character they add by using them as hardware!
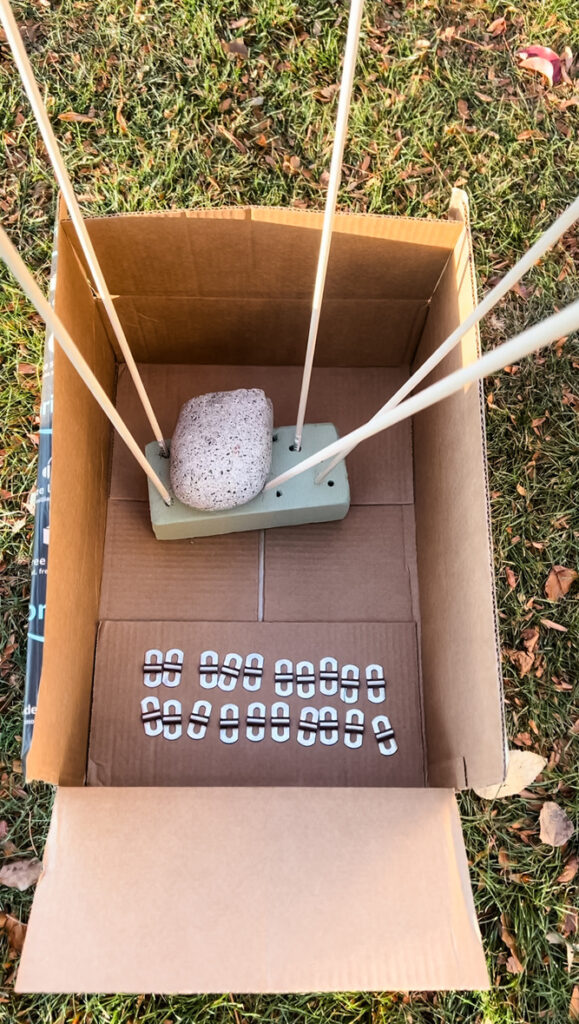
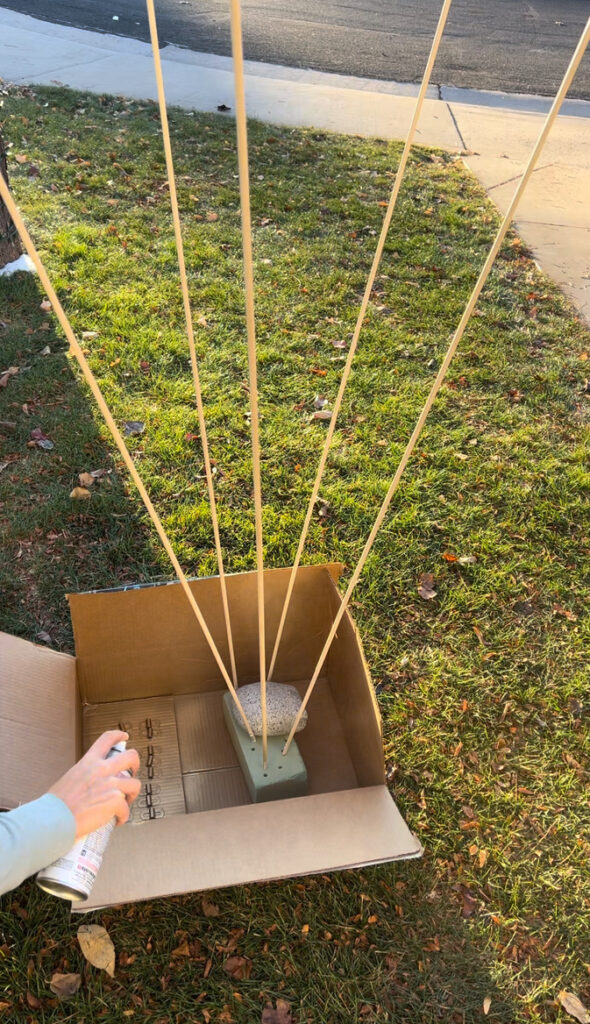
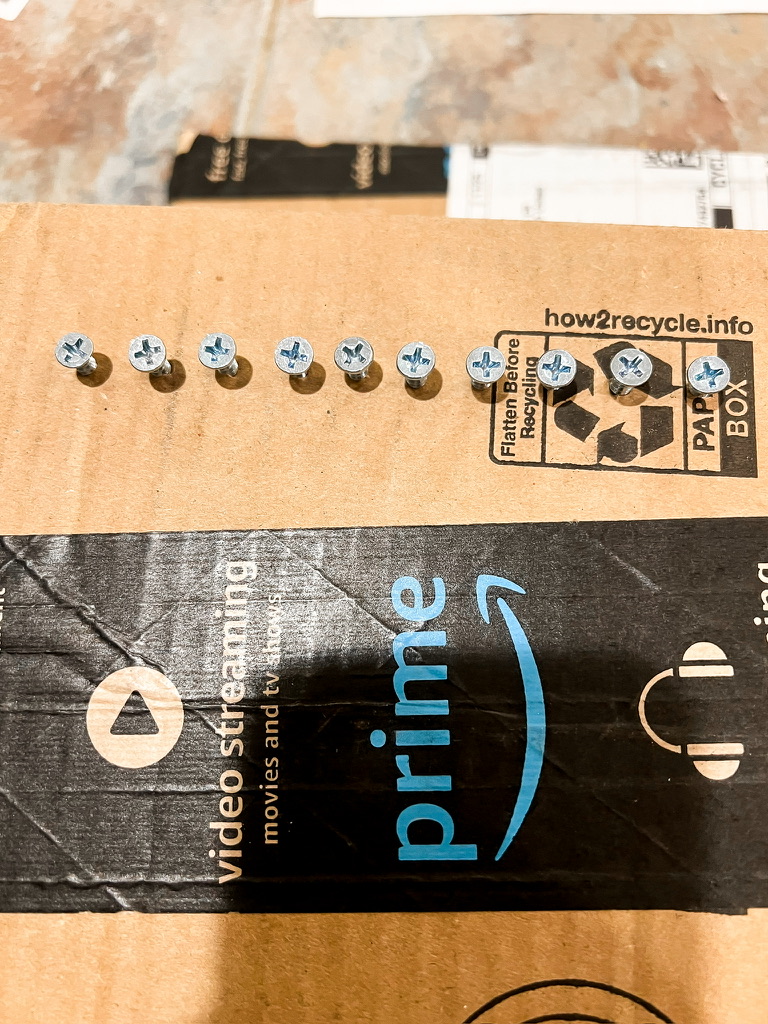
I decided to use Rustoleum’s metallic gold spray paint for the most realistic metal look. I spray painted the dowels, the hardware, and the heads of the screws using a jig made of floral foam and a carboard box which worked great!
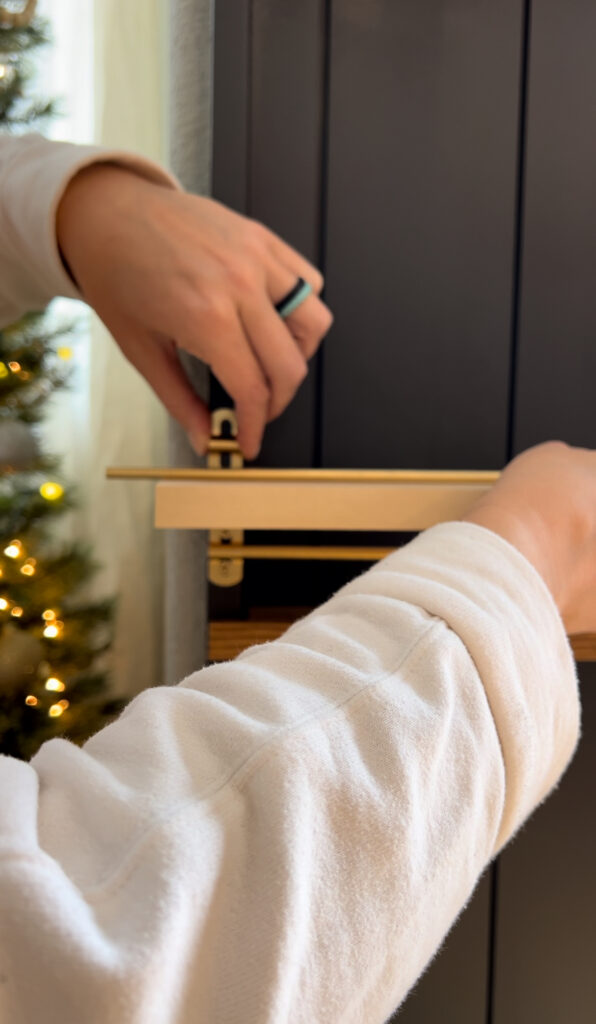
Then I cut the dowels to the right length and installed them on to the front of the frame, using a scrap piece of wood as a spacer. Since the 1×3″ is fairly narrow, I did pre-drill the holes where the pipe straps would be installed to avoid splitting the wood.
Add in decor
The last step is adding all of the plates, cookbooks and cutting boards we wanted to display and store! This DIY made such a huge impact visually in our living space and provides so much functional storage space! I love changing up the styling for different seasons too!


Make sure you’re following along on Instagram to see my projects in real time, all the behind-the-scenes and video tutorials. I love to see your projects, so please share them with me!
** All content is intended for informational purposes only. Readers assume all risk and liability for any DIY projects undertaken based on the information provided here. Living Starts at Home is not responsible for any injury or damage. Please prioritize safety, use tools responsibly and wear appropriate safety equipment when engaging in any DIY activities. All designs are intended for private use only **

Comments